|
|
How to Connect a Bot to Facebook |
|
Keeping up with social media and keeping your online community engaged can be a time-consuming task. Through Bot Libre you can now automate your Facebook presence with your own Facebook bot. Any Bot Libre bot can be connected to a Facebook account, page, and Facebook Messenger. The bot will reply to your user's questions in real-time using the responses of the script you have trained your bot with.
Connecting a bot to Facebook is quick and easy, This "how to" gives you a step-by-step process to connect your bot to Facebook.
Step 1 - Create your Facebook page.
A Facebook page is required. If you already have your Facebook page, you can skip this step.
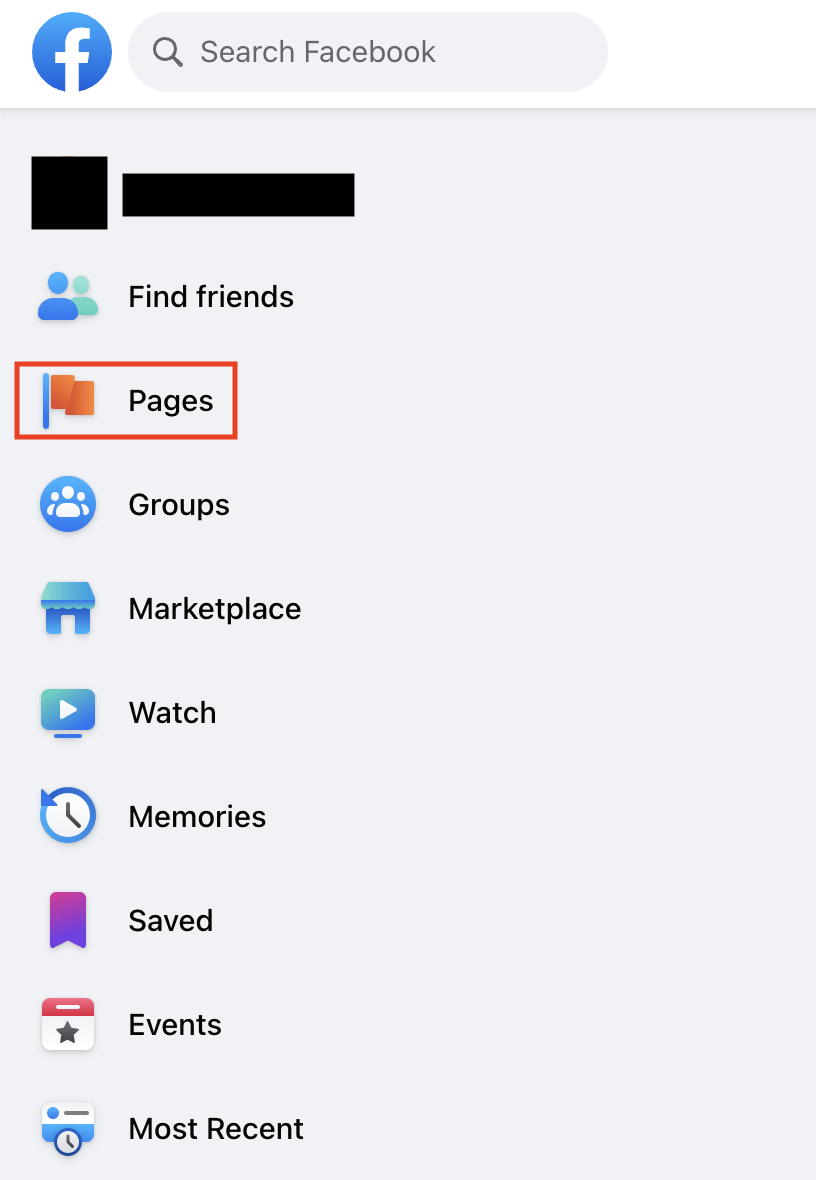
First, you need to visit https://www.facebook.com/ and log in to your Facebook account. After you log in, you will find the "Pages" option on the left side menu. Click it, it will lead you to "Pages and profiles" page.
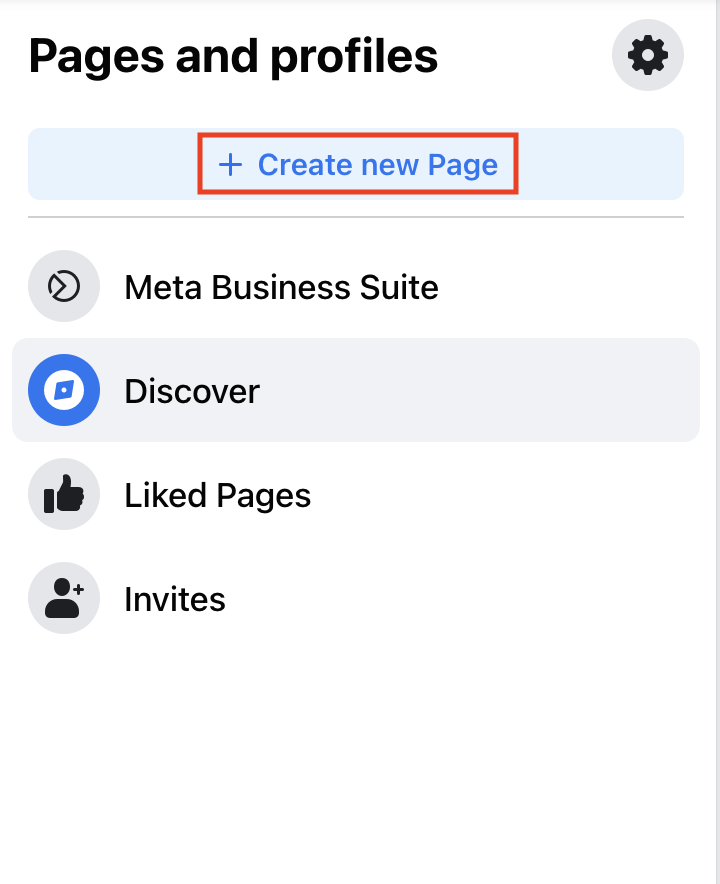
 Once you get into the "Pages and profiles" page, click the "Create new Page" button on the left side.
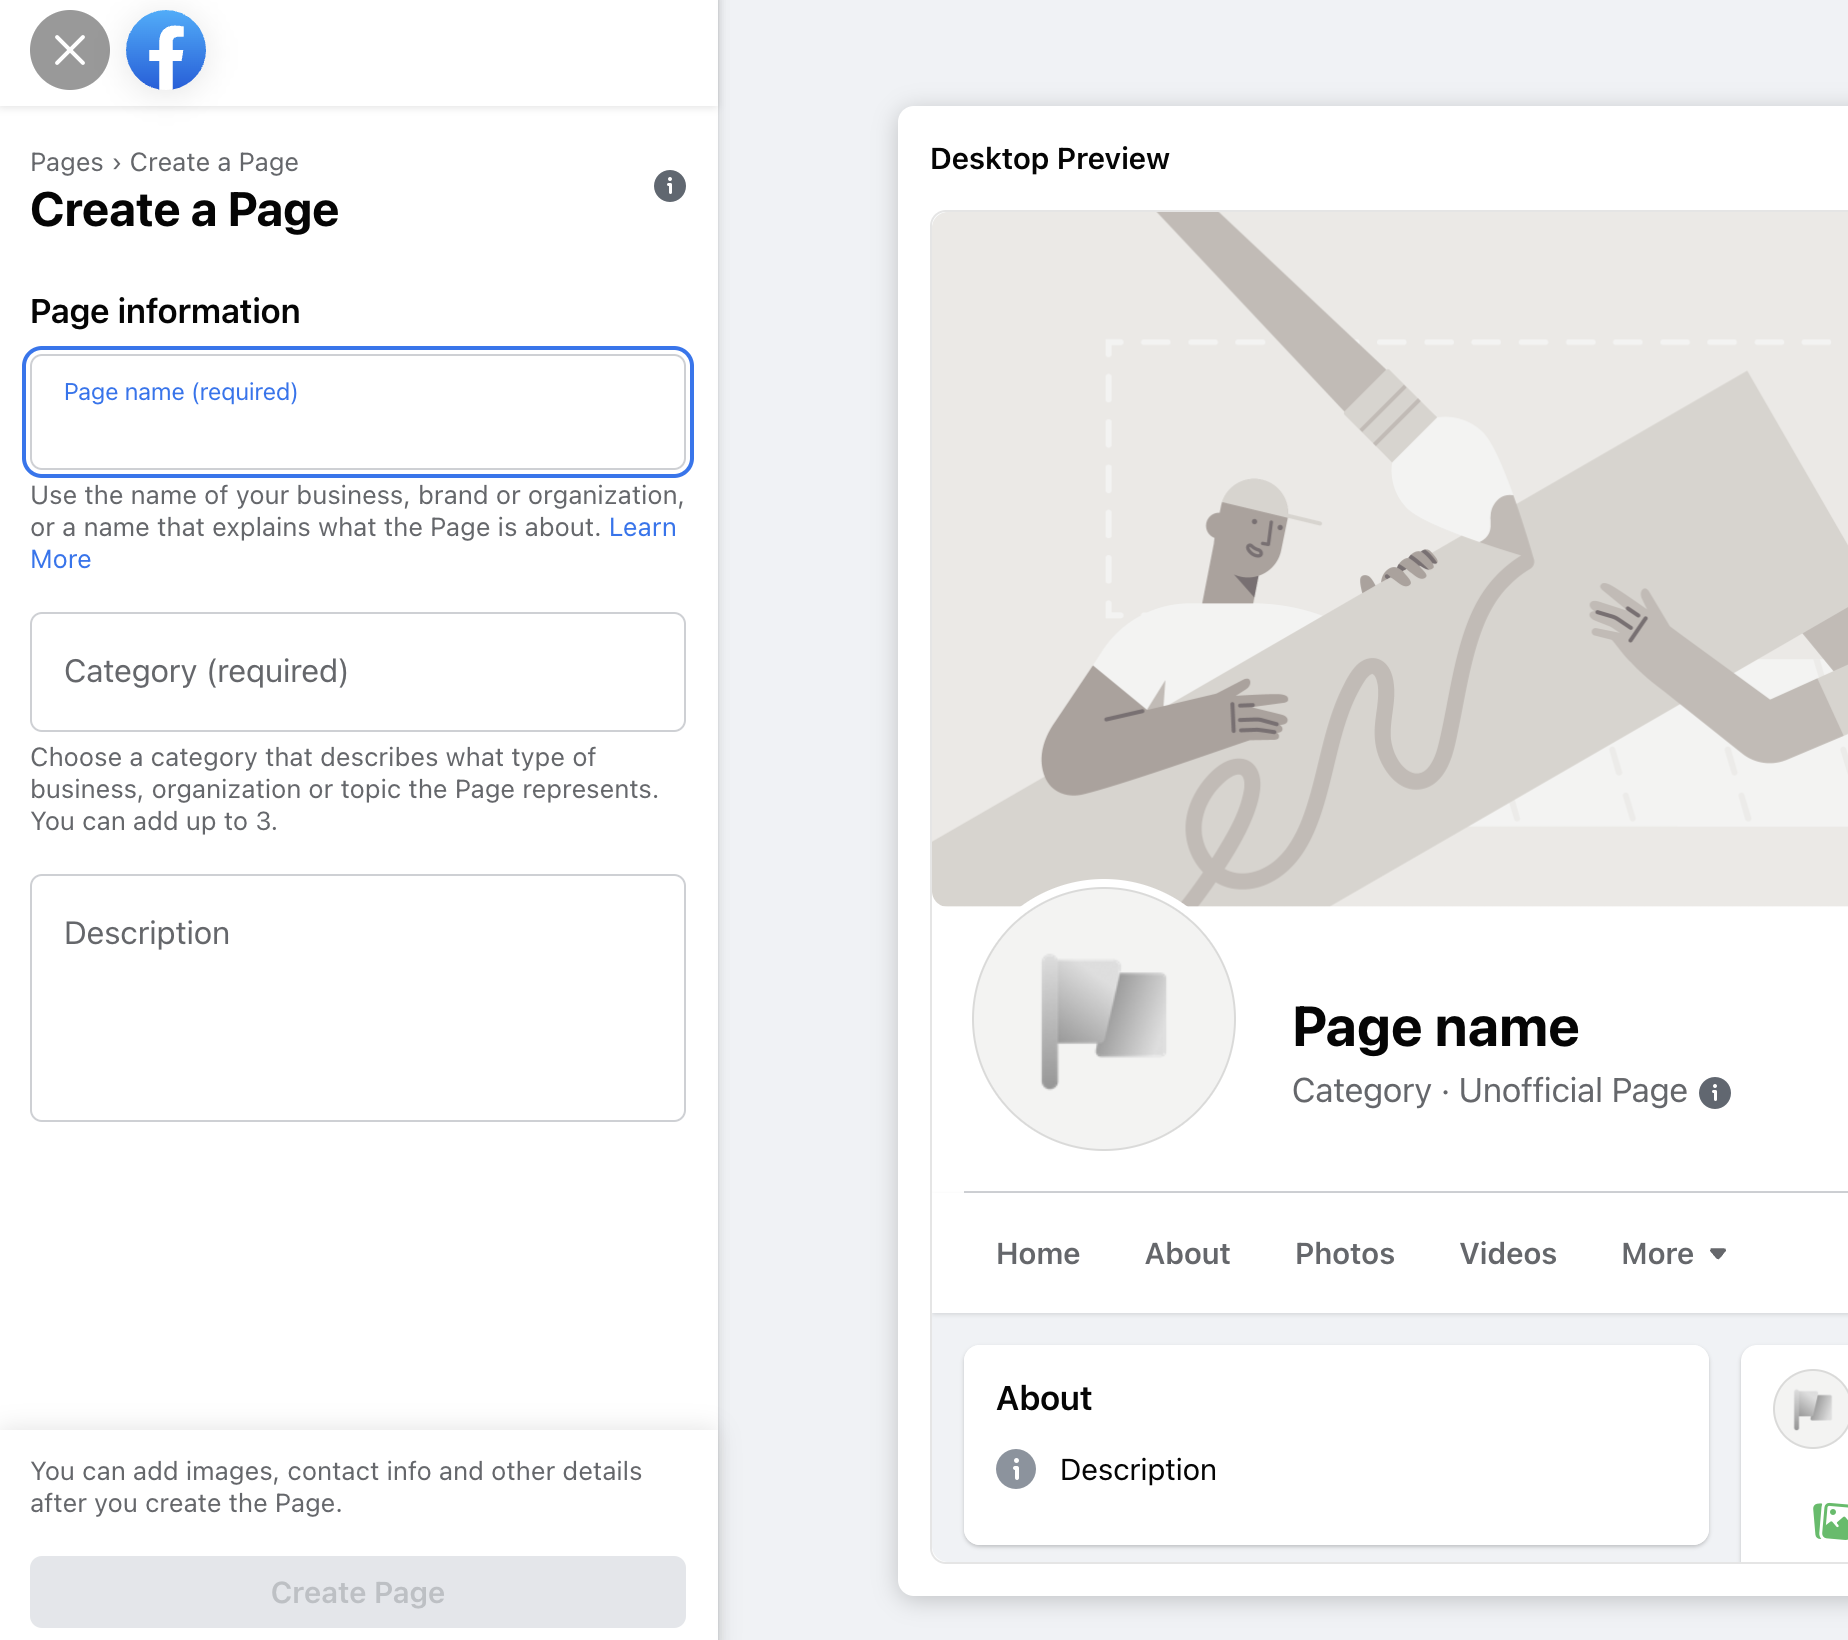
 Fill the page name, category, and description, then create the page. You can fill out the details for your page later.
 Now you have your own Facebook page. You can move on to the next step.
Step 2 - Create your own bot.
You will need to create a bot to connect with your Facebook Page and app. You can follow the instructions here to create your bot: How to create your own chat bot in 10 clicks
From the Bot Libre website, browse your bot. Go to the Admin Console by clicking on the gear icon or "Admin" button at the bottom.
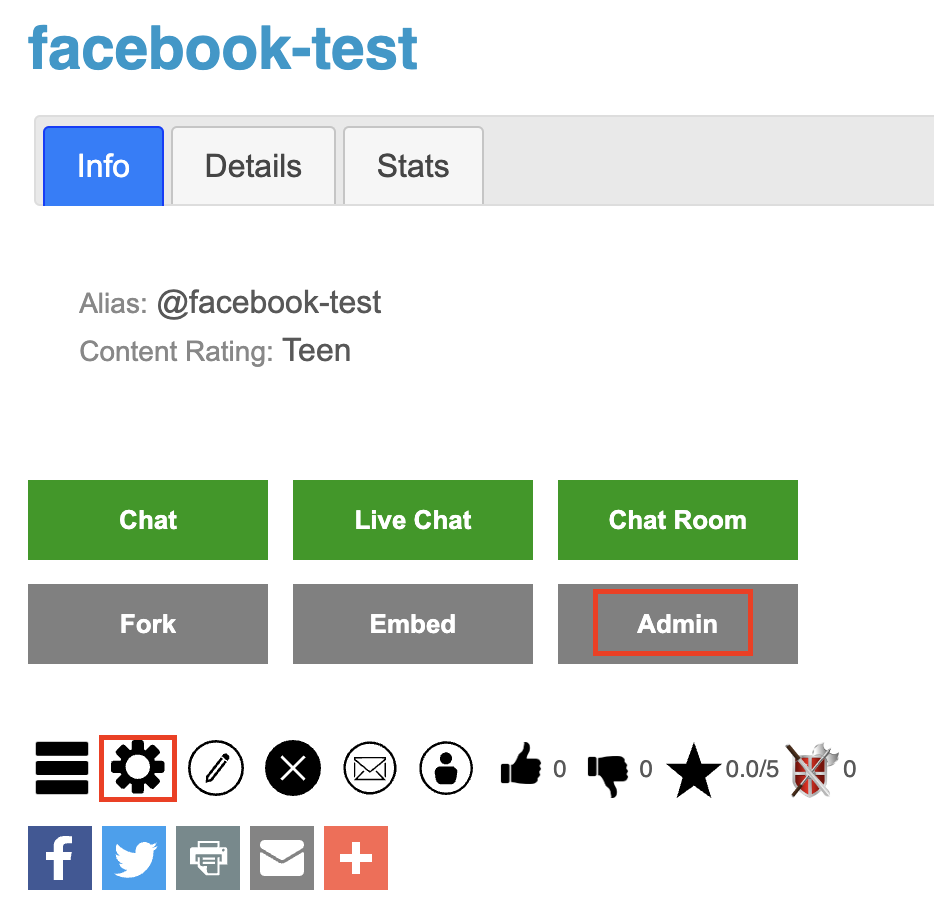 In the Admin Console, click on "Facebook" to take you to a screen to configure your Facebook settings.
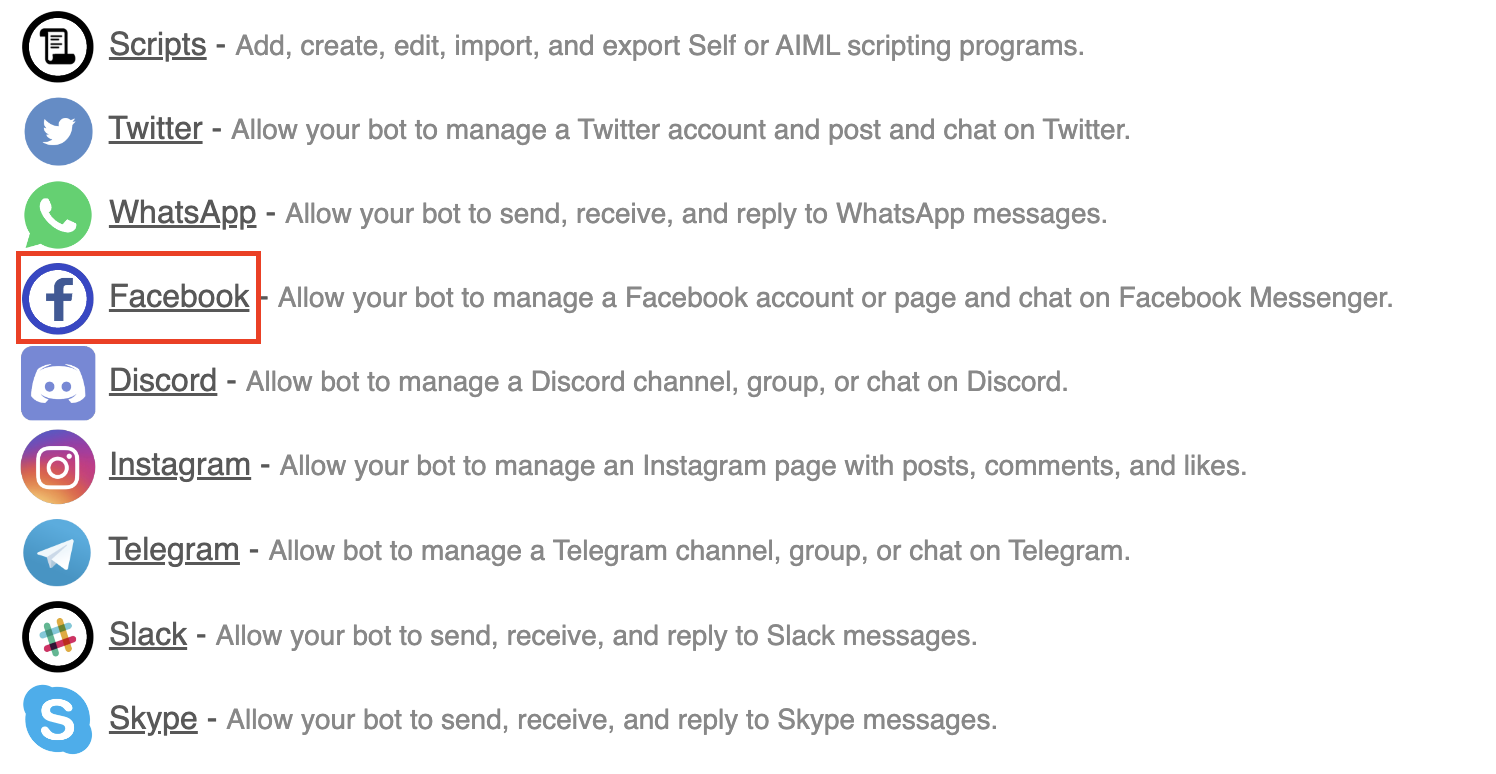 Step 3 -Authorize your bot to Facebook.
You can simply click the "Authorize" button on the Facebook setting page.
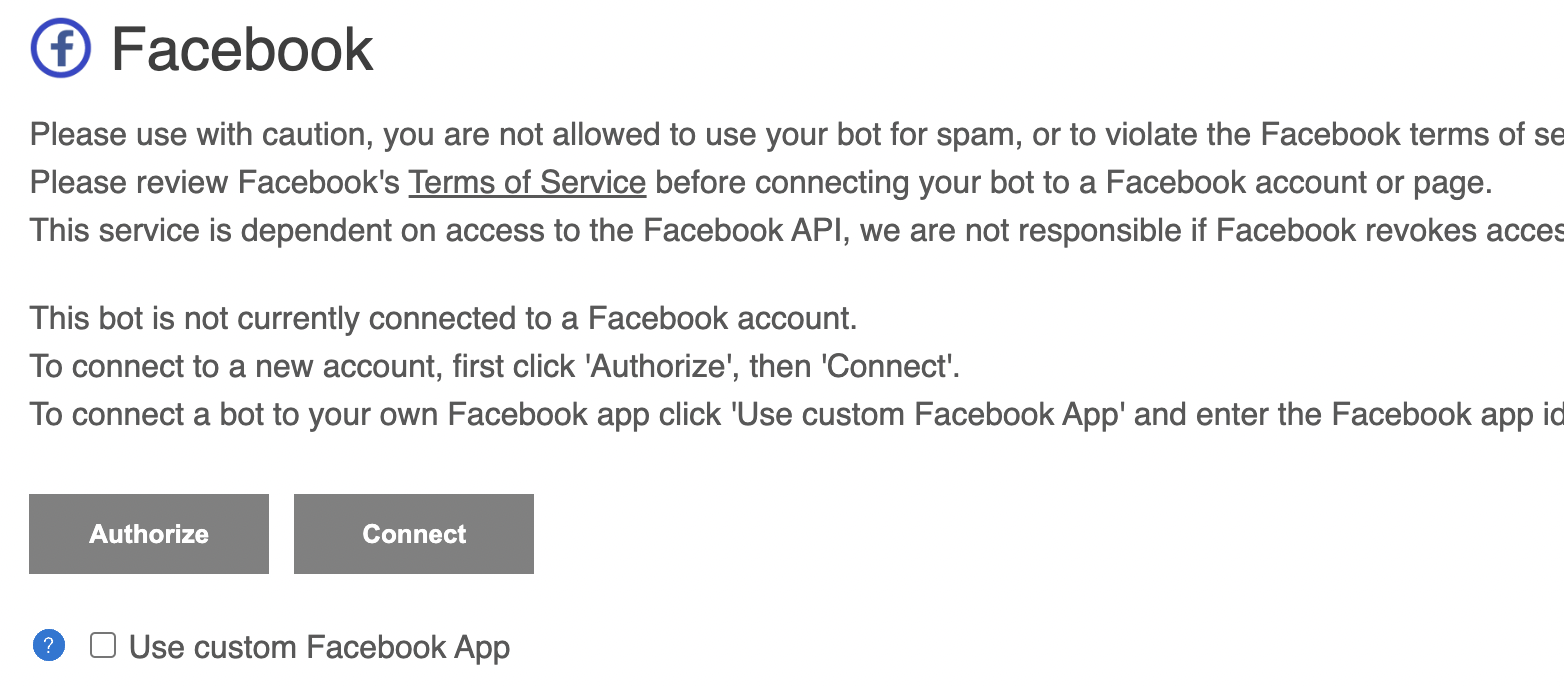 If you have not login to Facebook, it will lead you to the Facebook login page.
Otherwise, you can continue with your Facebook account and select your Facebook page.
If you have previously linked botlibre to Facebook, you can click "Edit Settings" to change the page and permission.
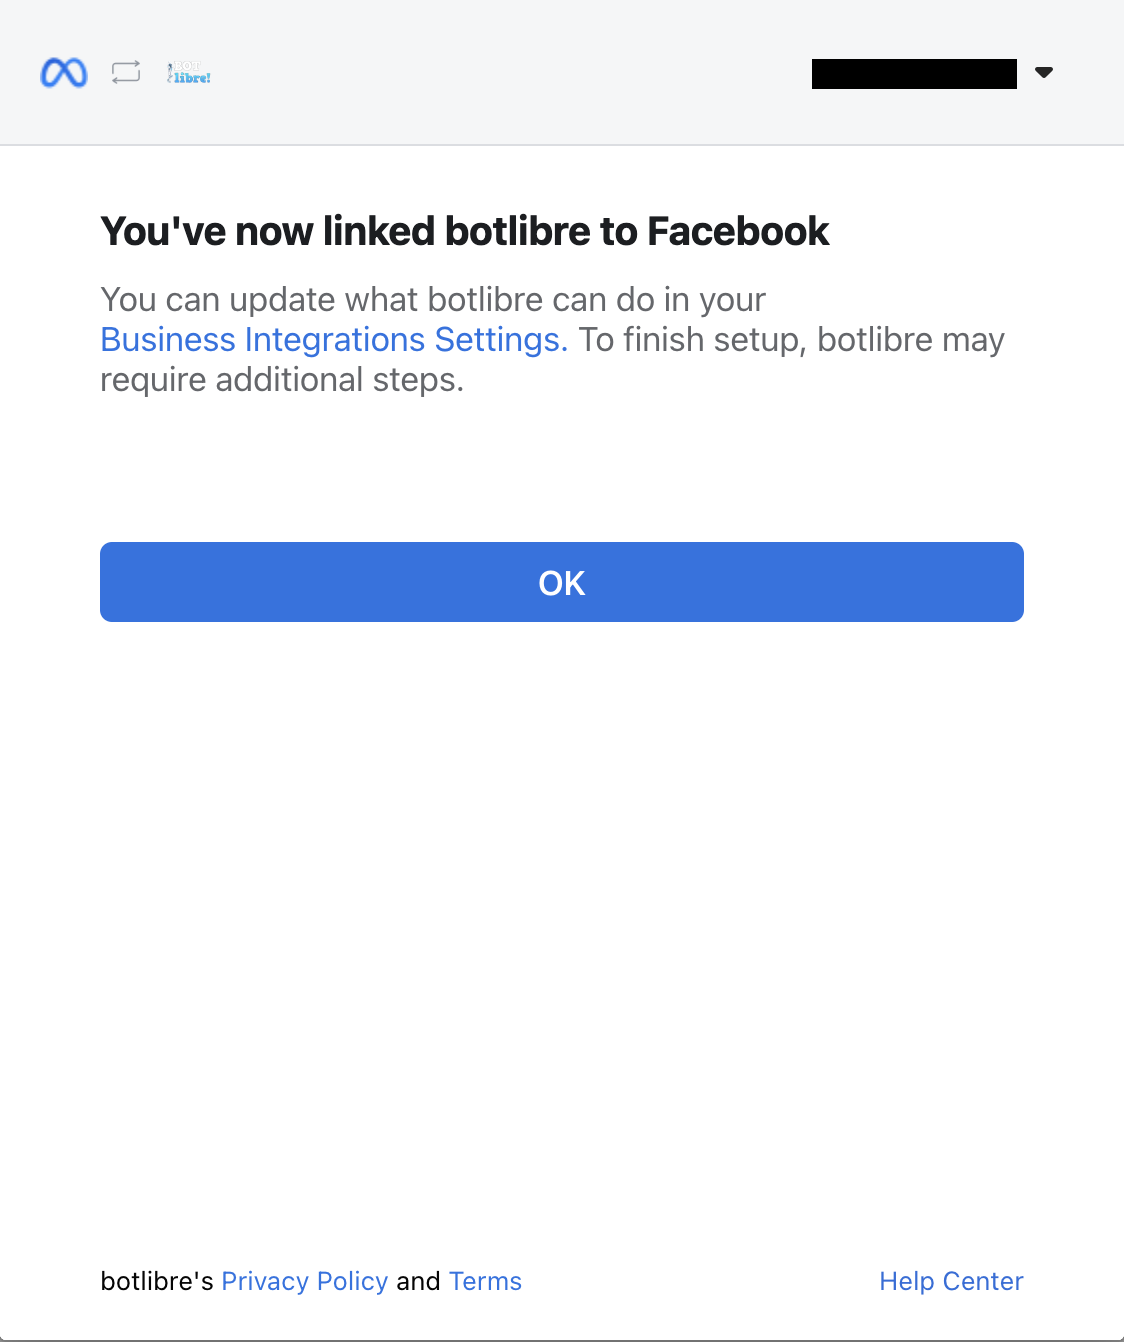
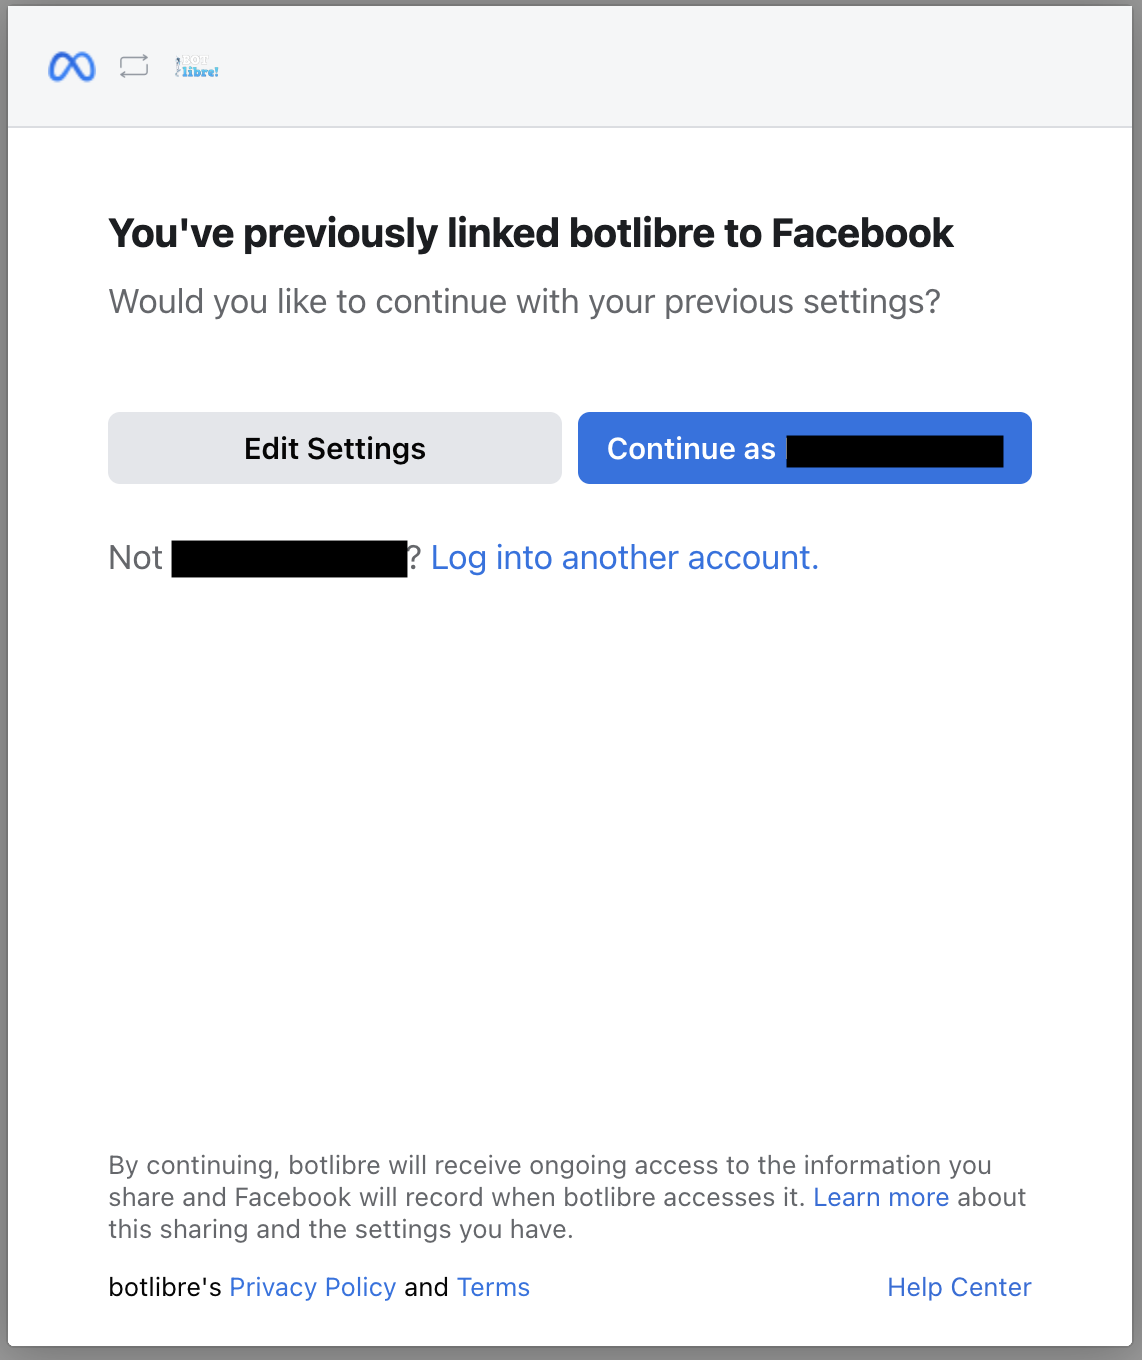 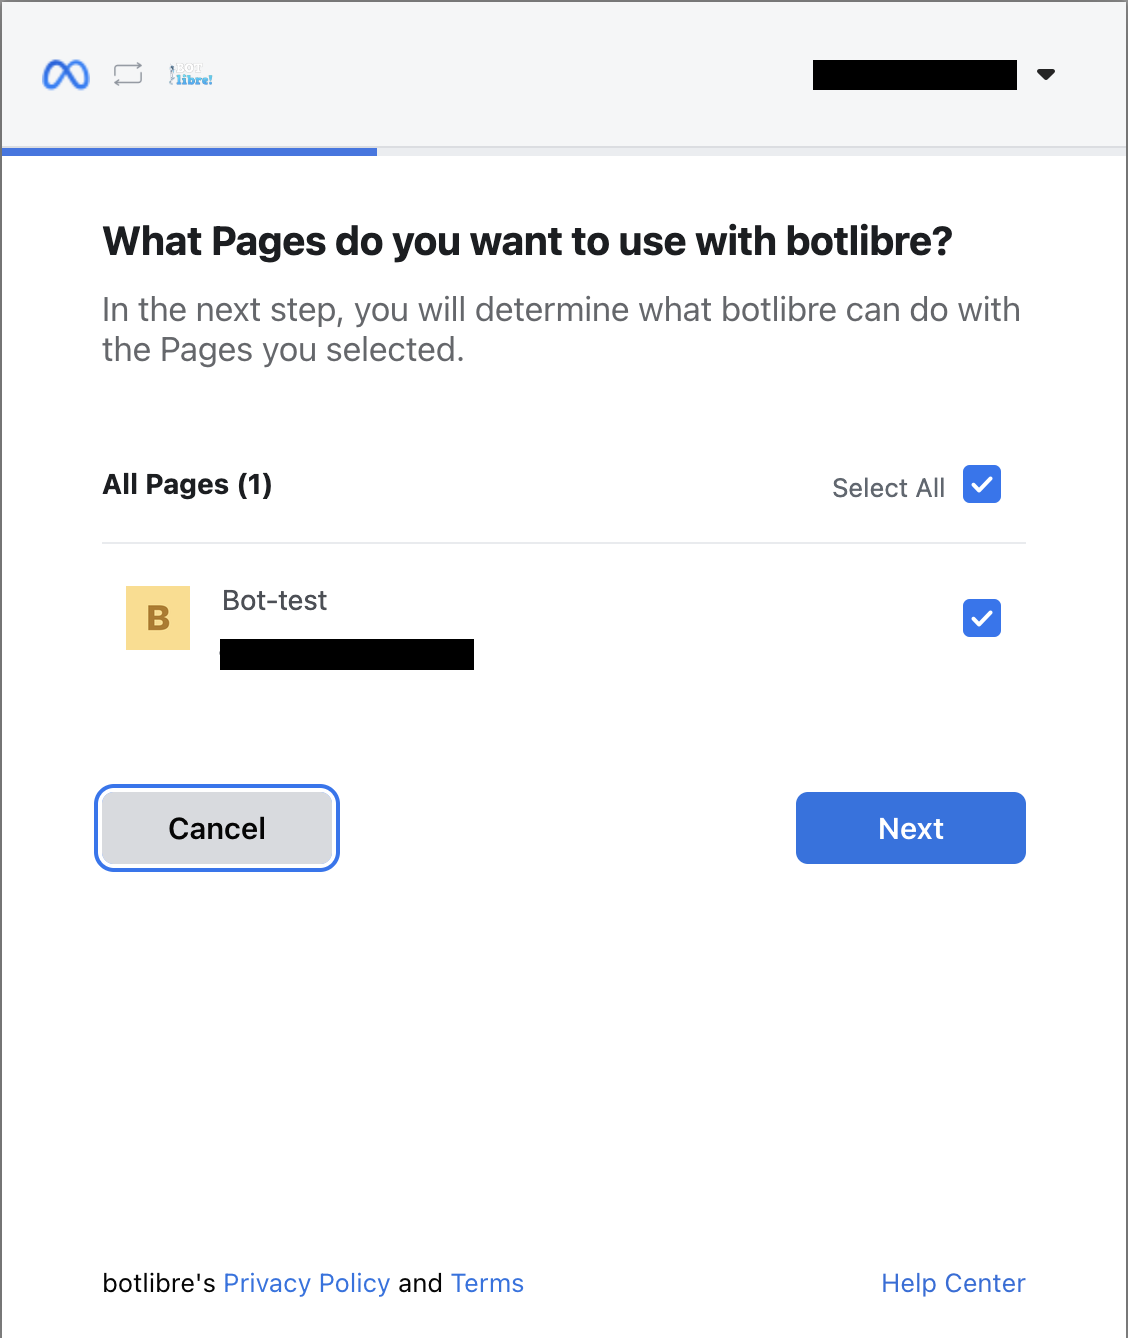 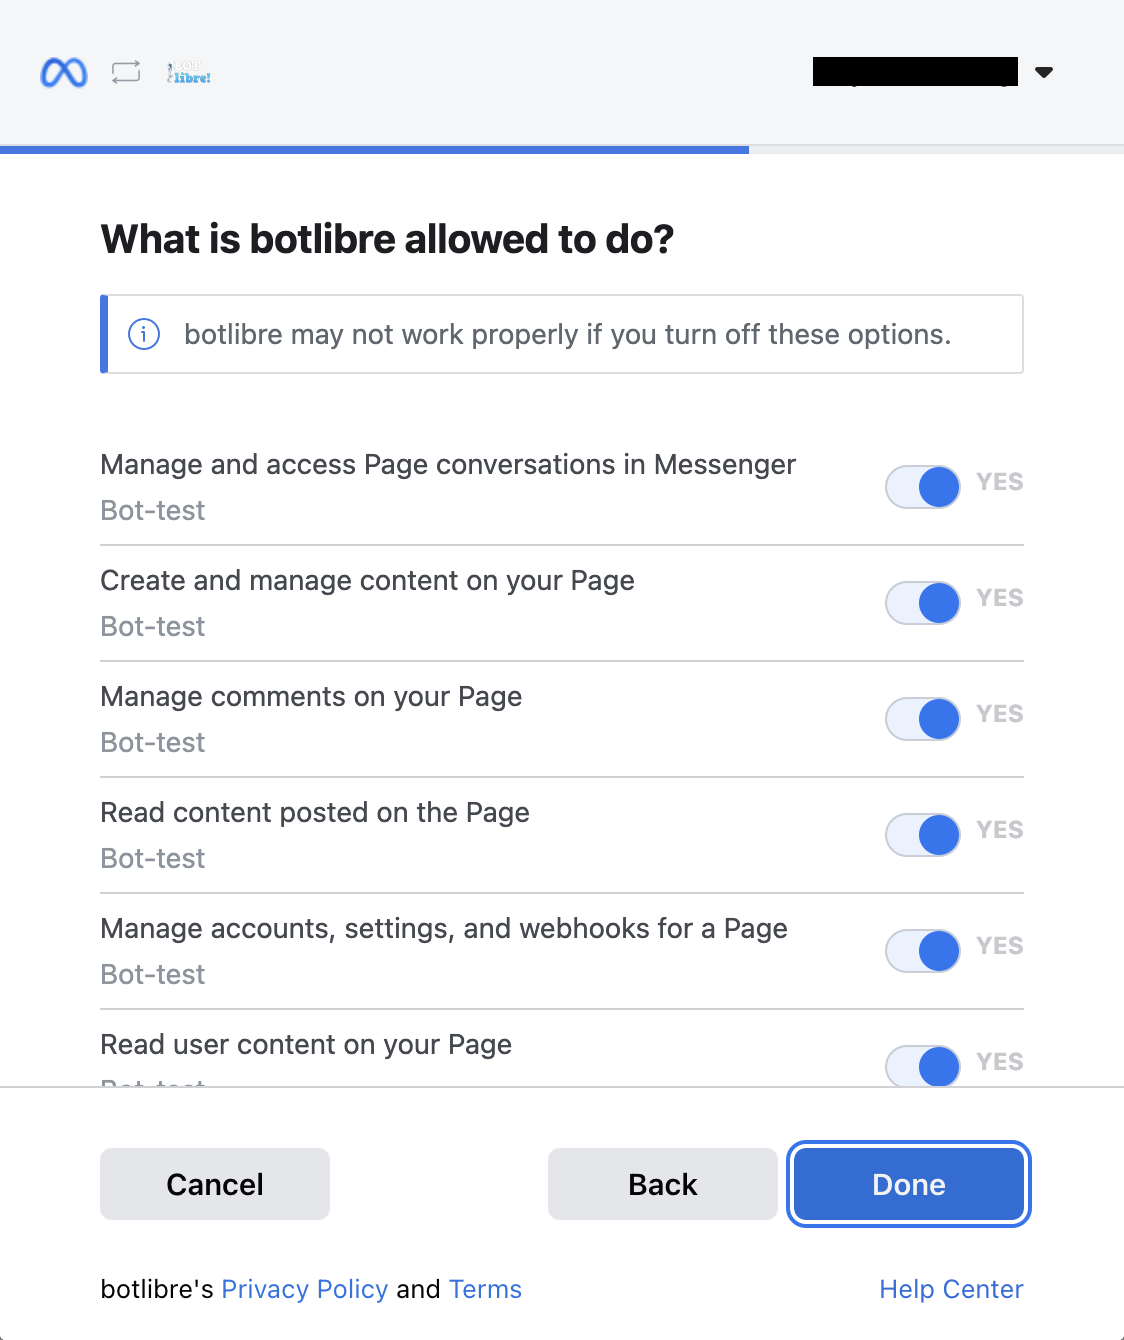 That's it, your bot is now authorized.
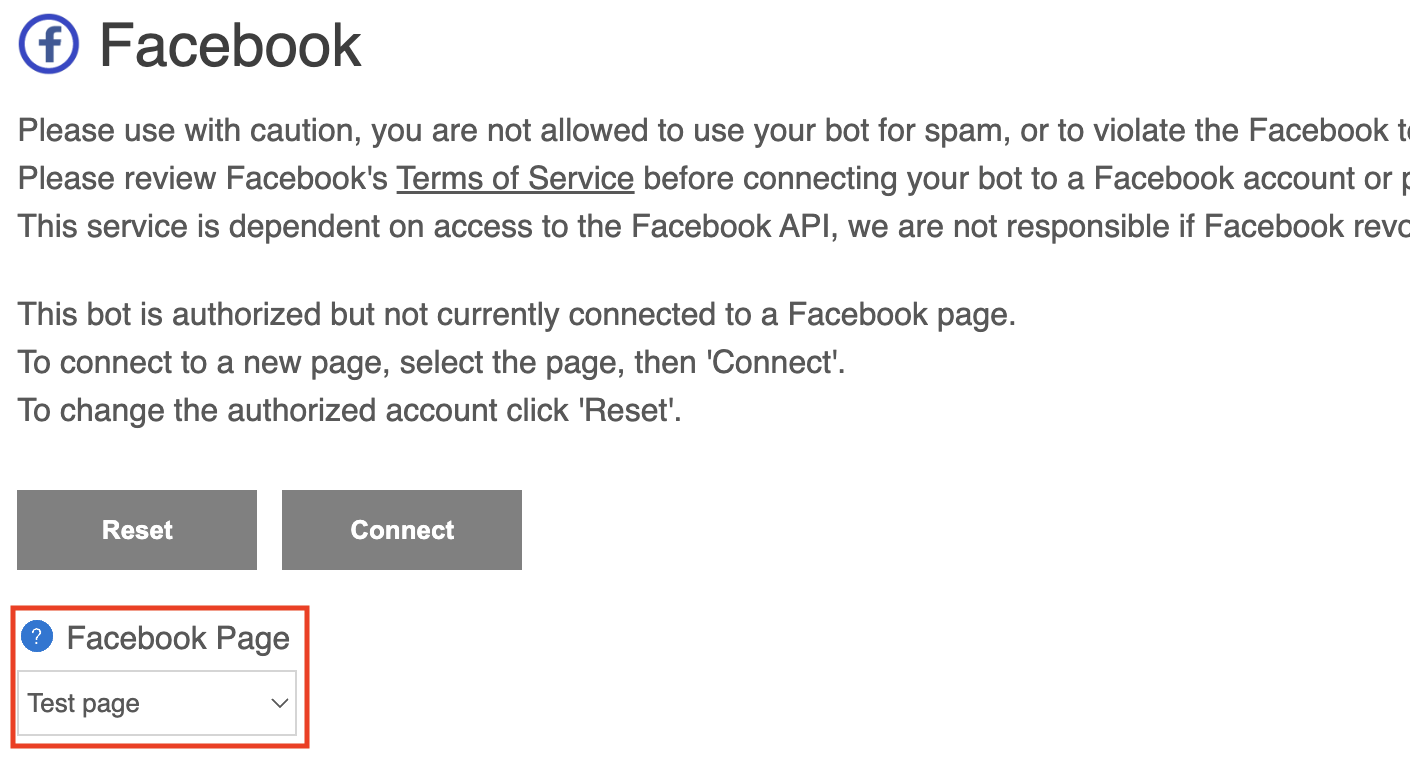
 If you have multiple Facebook pages, you can choose your desired page from the Facebook page dropdown menu.
 Step 4 - Connect your bot to Facebook.
If you successfully authorized your bot, you can now simply click the "Connect" button to connect to your Facebook.
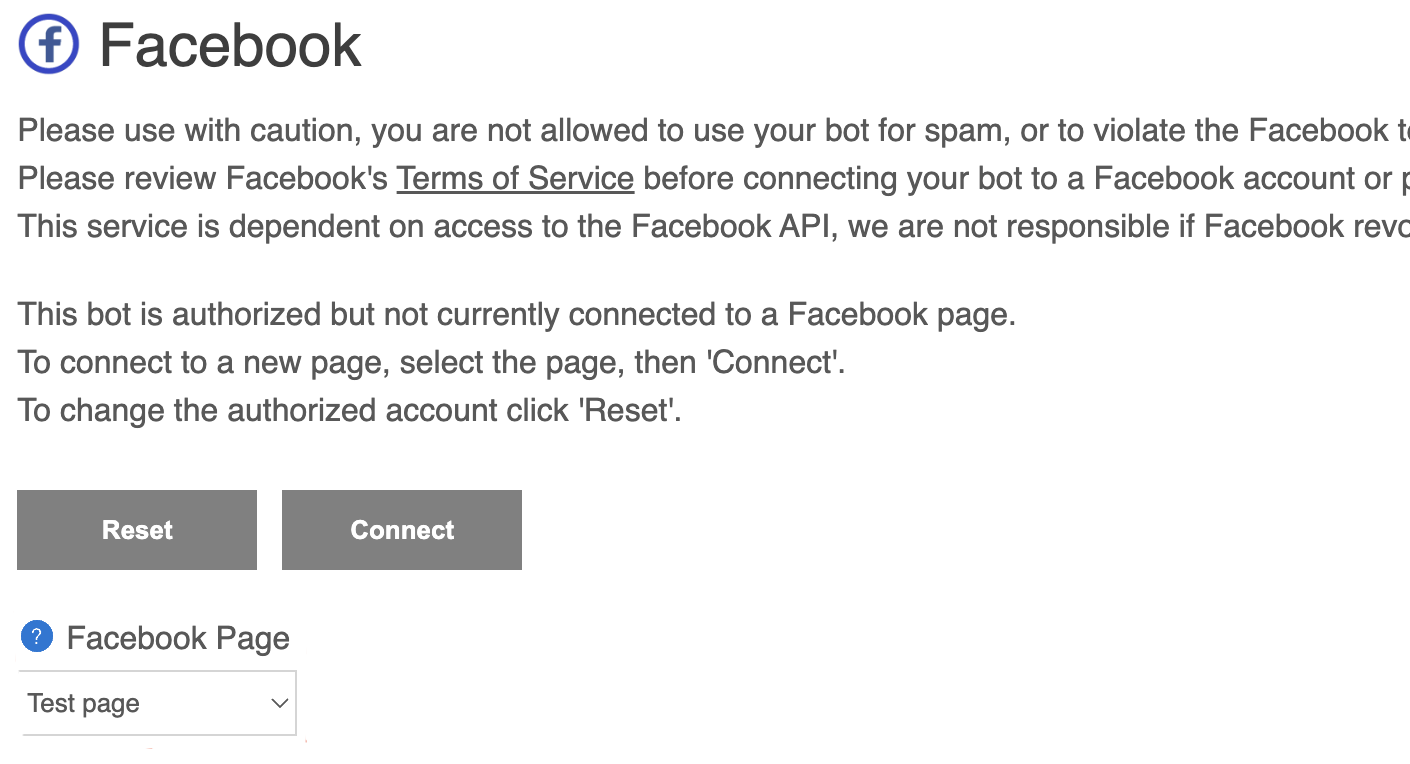 After connecting to Facebook, you can configure your bot's Facebook page properties and Messenger properties.
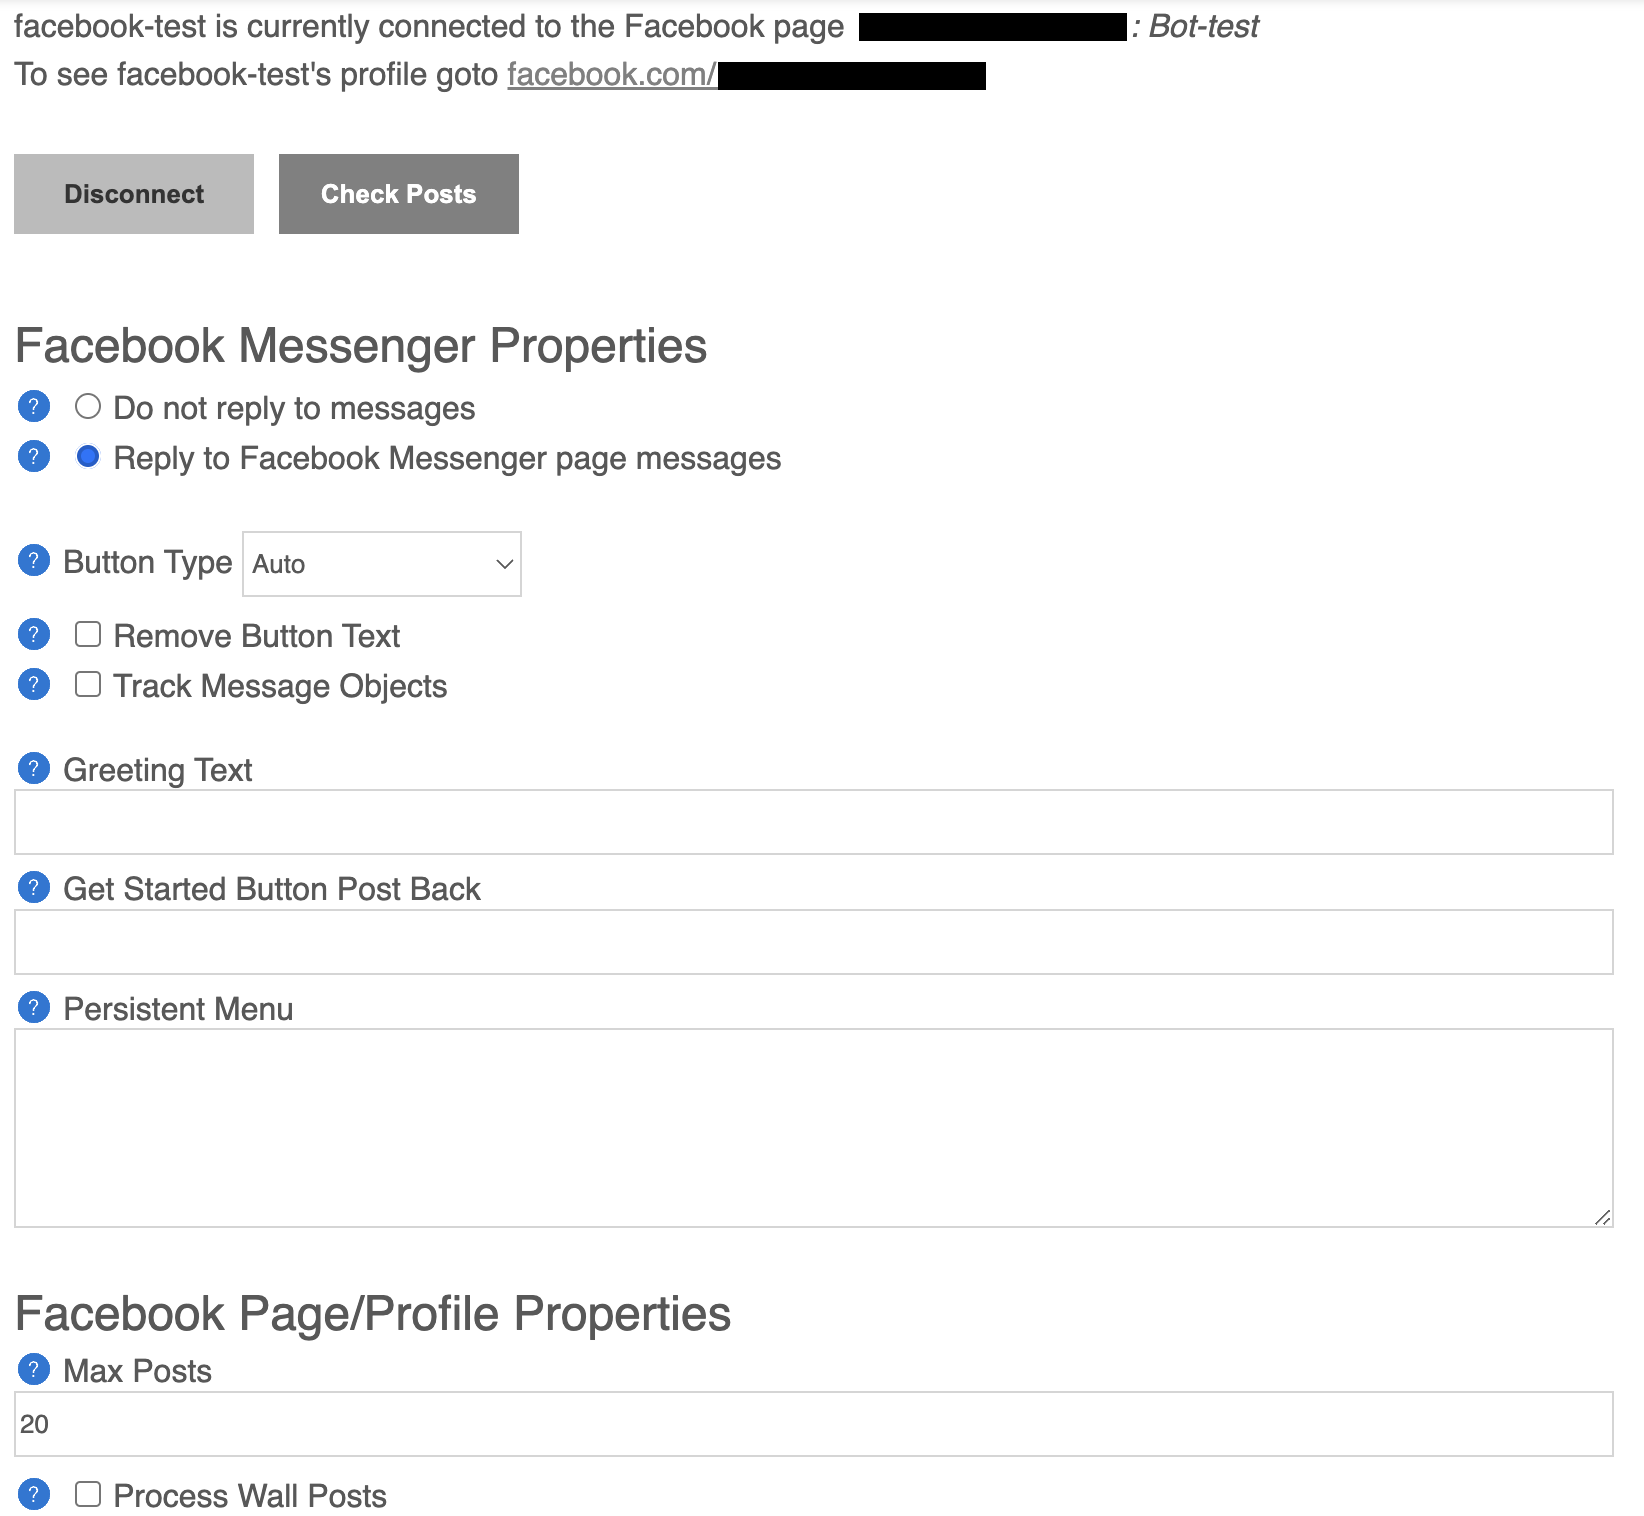 That's it, Congratulations! With 4 simple steps, Your bot is now connected to Facebook.
(Optional) Use your custom Facebook app.
If you wish, you can connect your bot to your own custom Facebook app.
This step is completely optional.
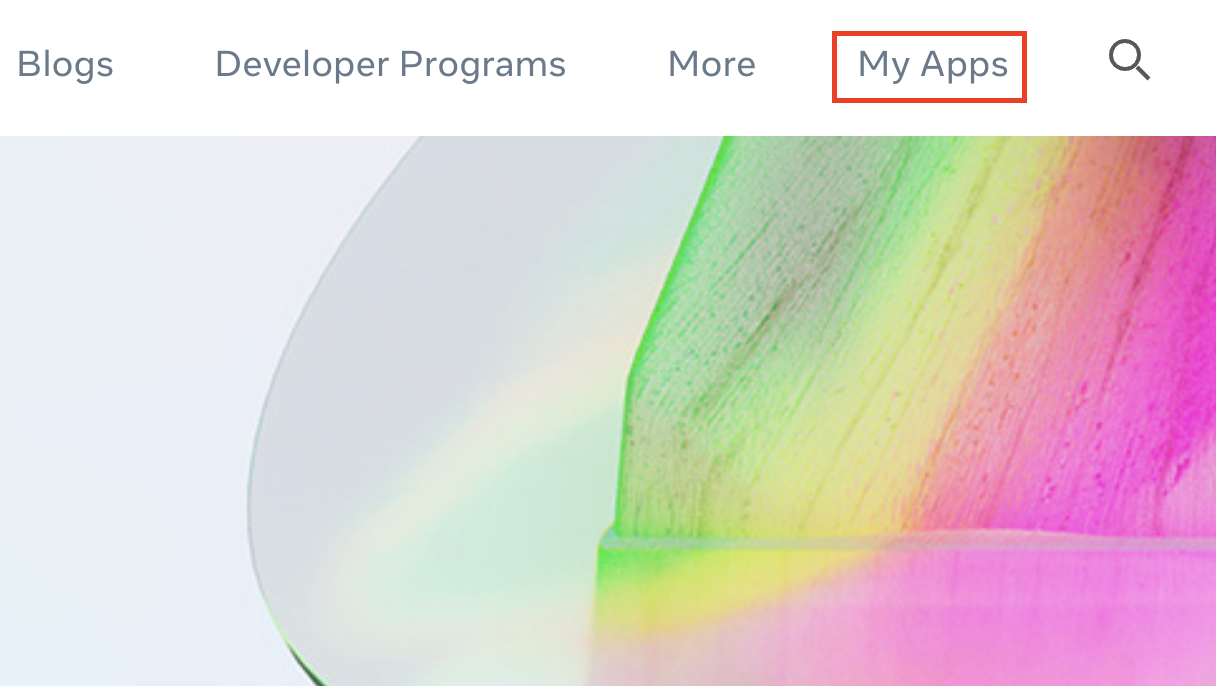
Go to http://developers.facebook.com and click "My apps" on the top right corner.
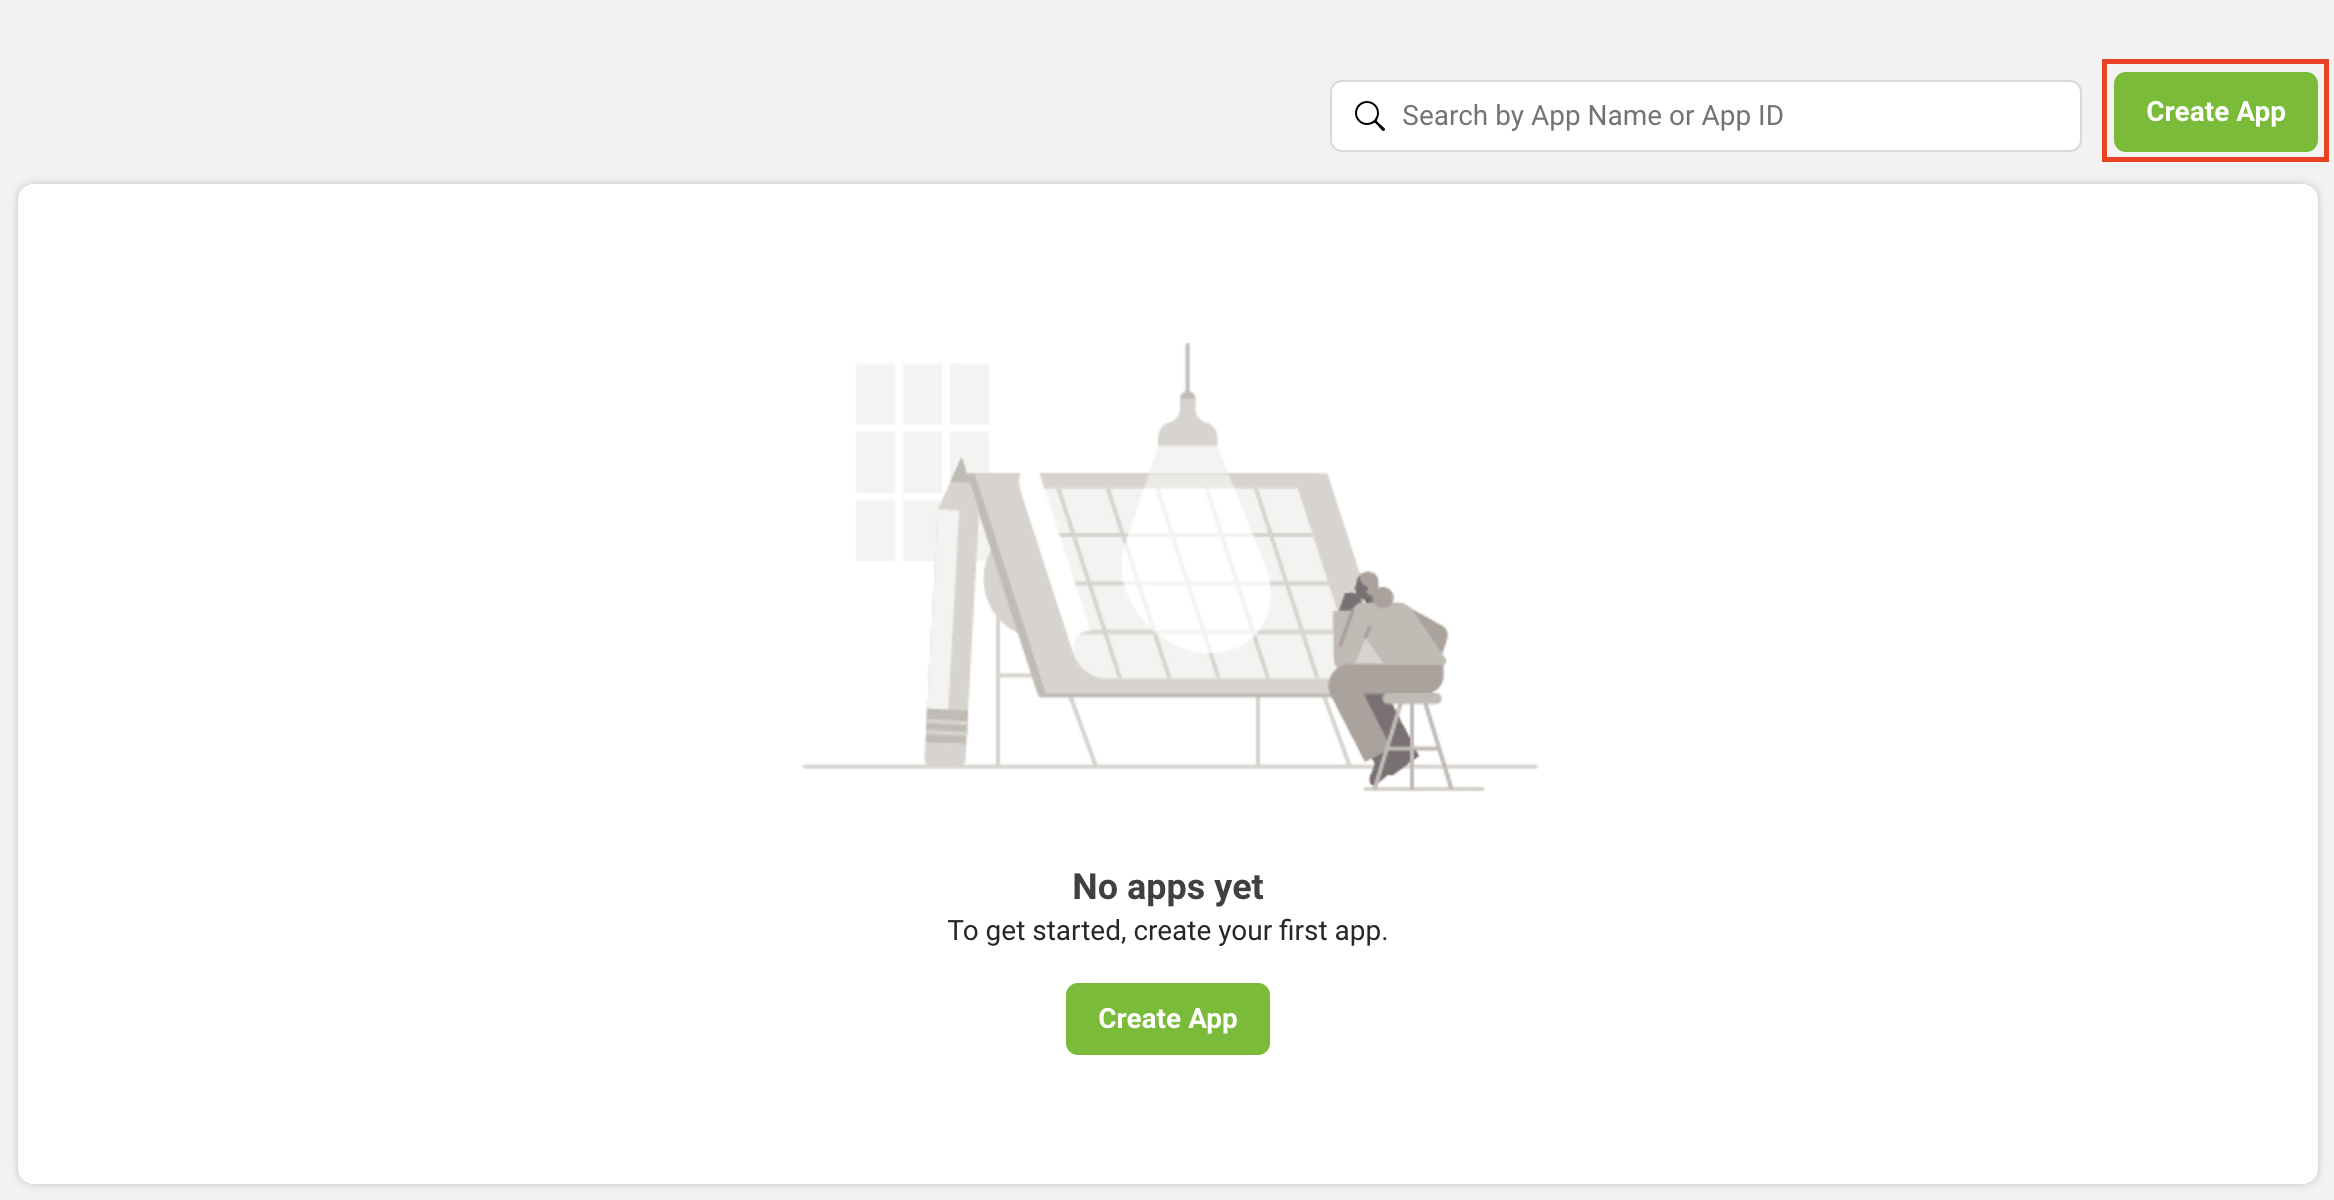
 Click "Create app" to create your Facebook app.
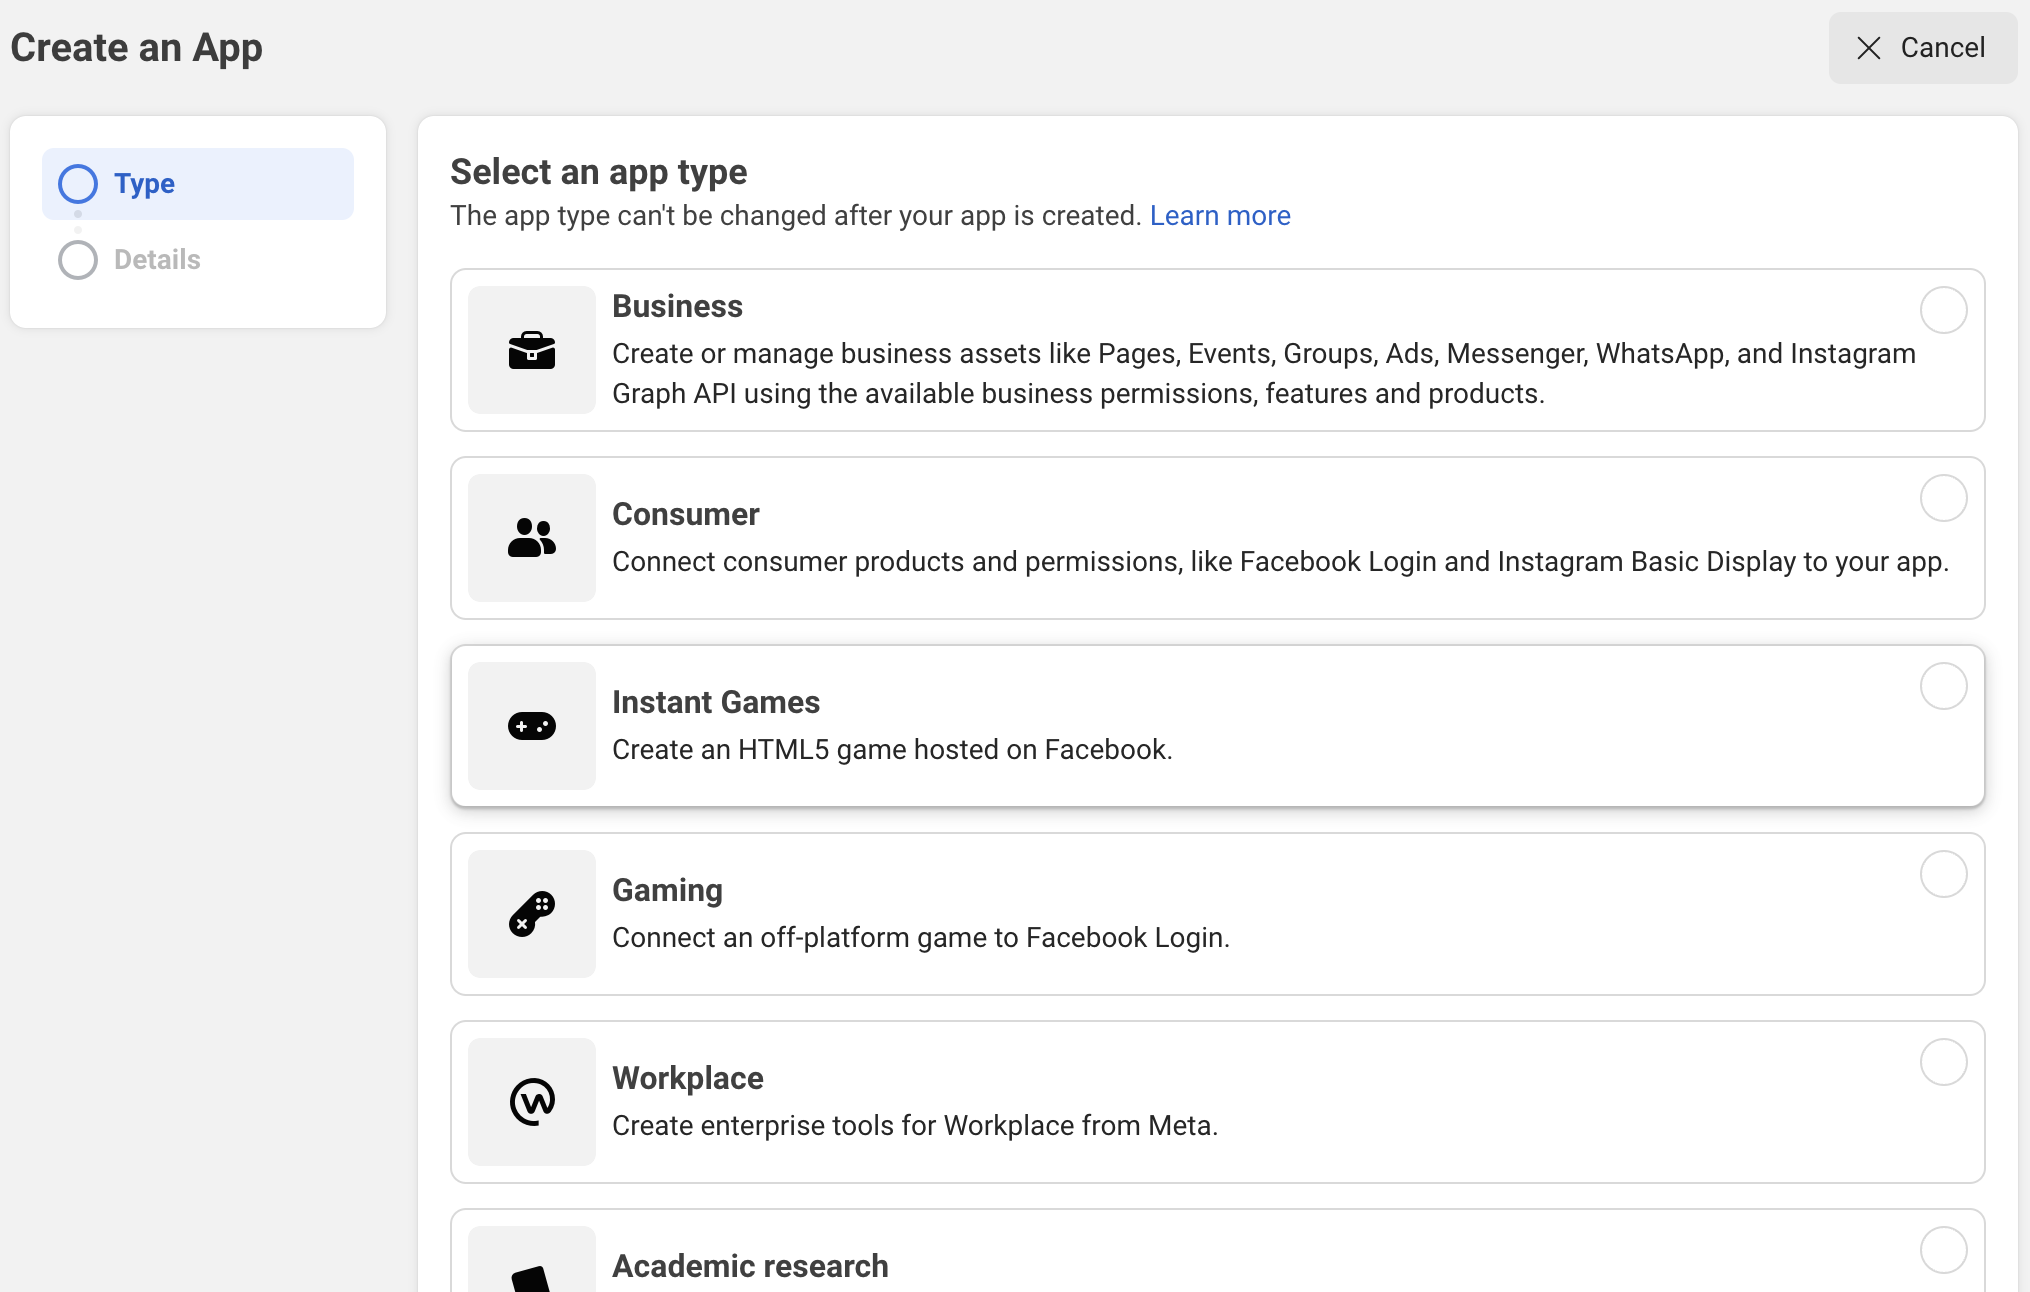
 Select your app type.
 Fill the basic info of your app and create it.
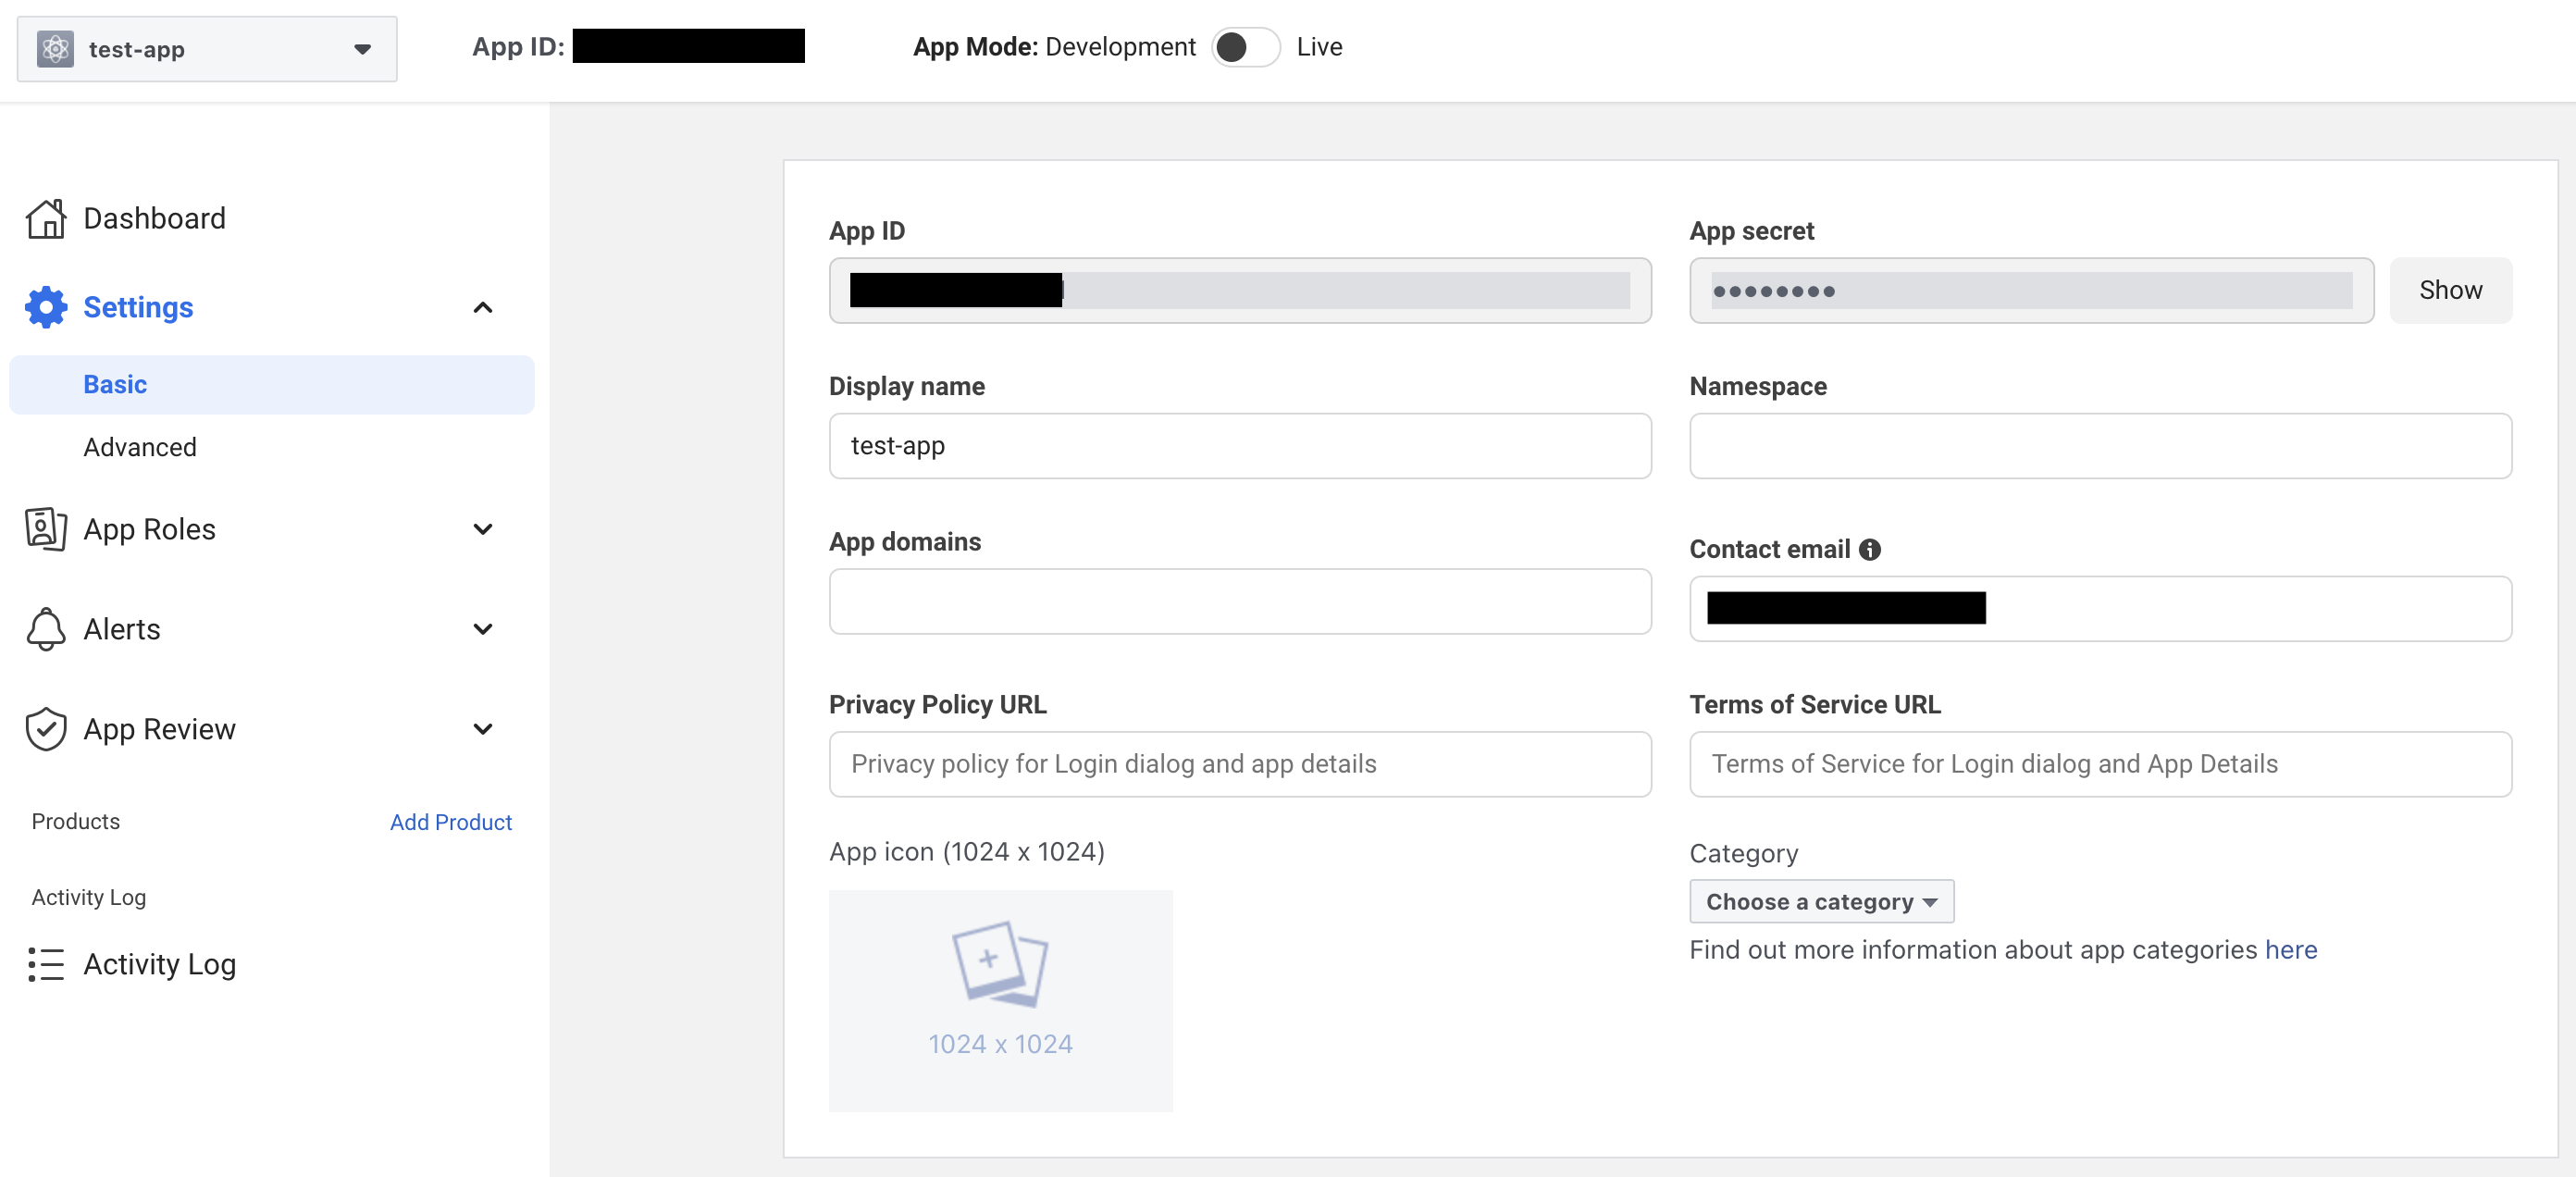
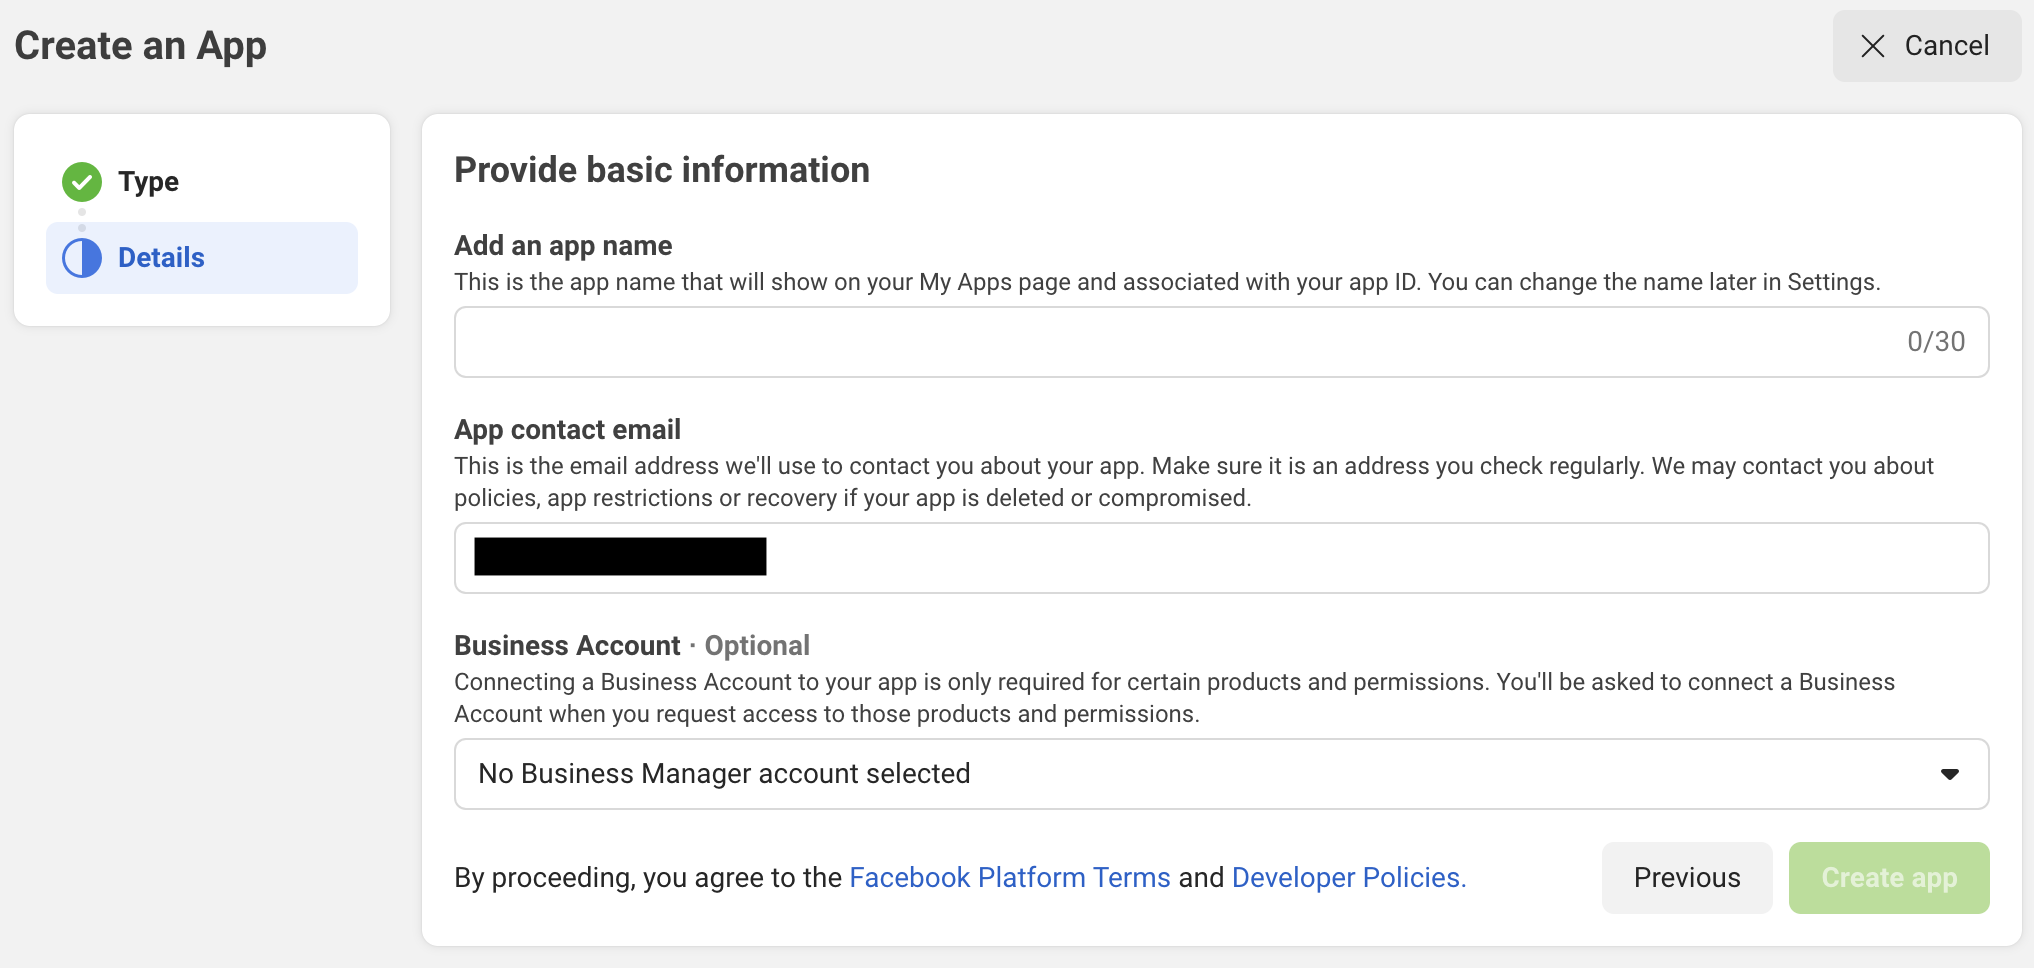 Select your app, then open the app setting - Basic from the left pane.
Under the basic setting, you need to copy the "App ID" and "App secret", we will need them later.
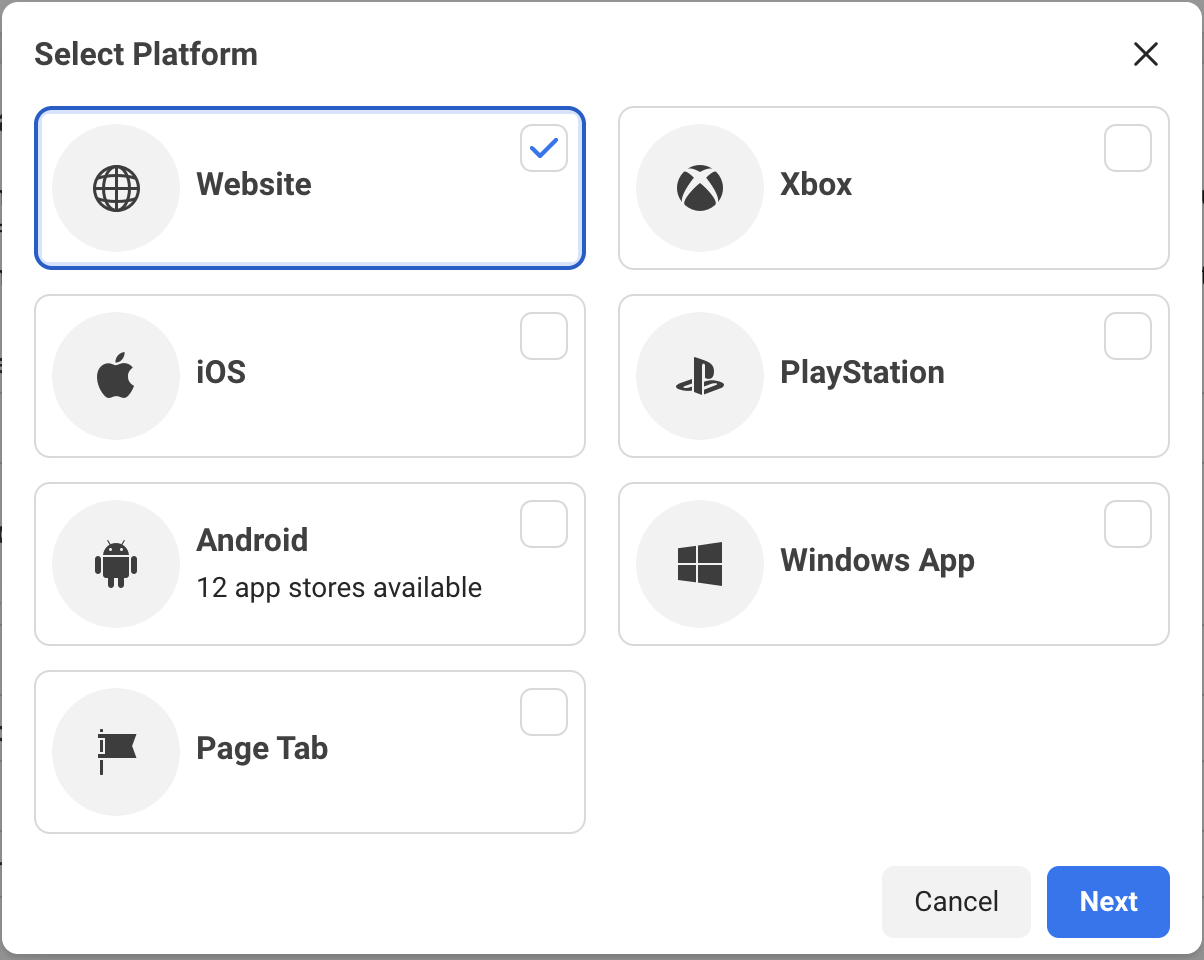
 Scroll to the bottom of this screen and click the 'Add Platform' button.
 Select platform "Website"
 Enter "https://www.botlibre.com" and save changes.
 Click the "Add Product" button on the left pane and add "Facebook Login" to Products.
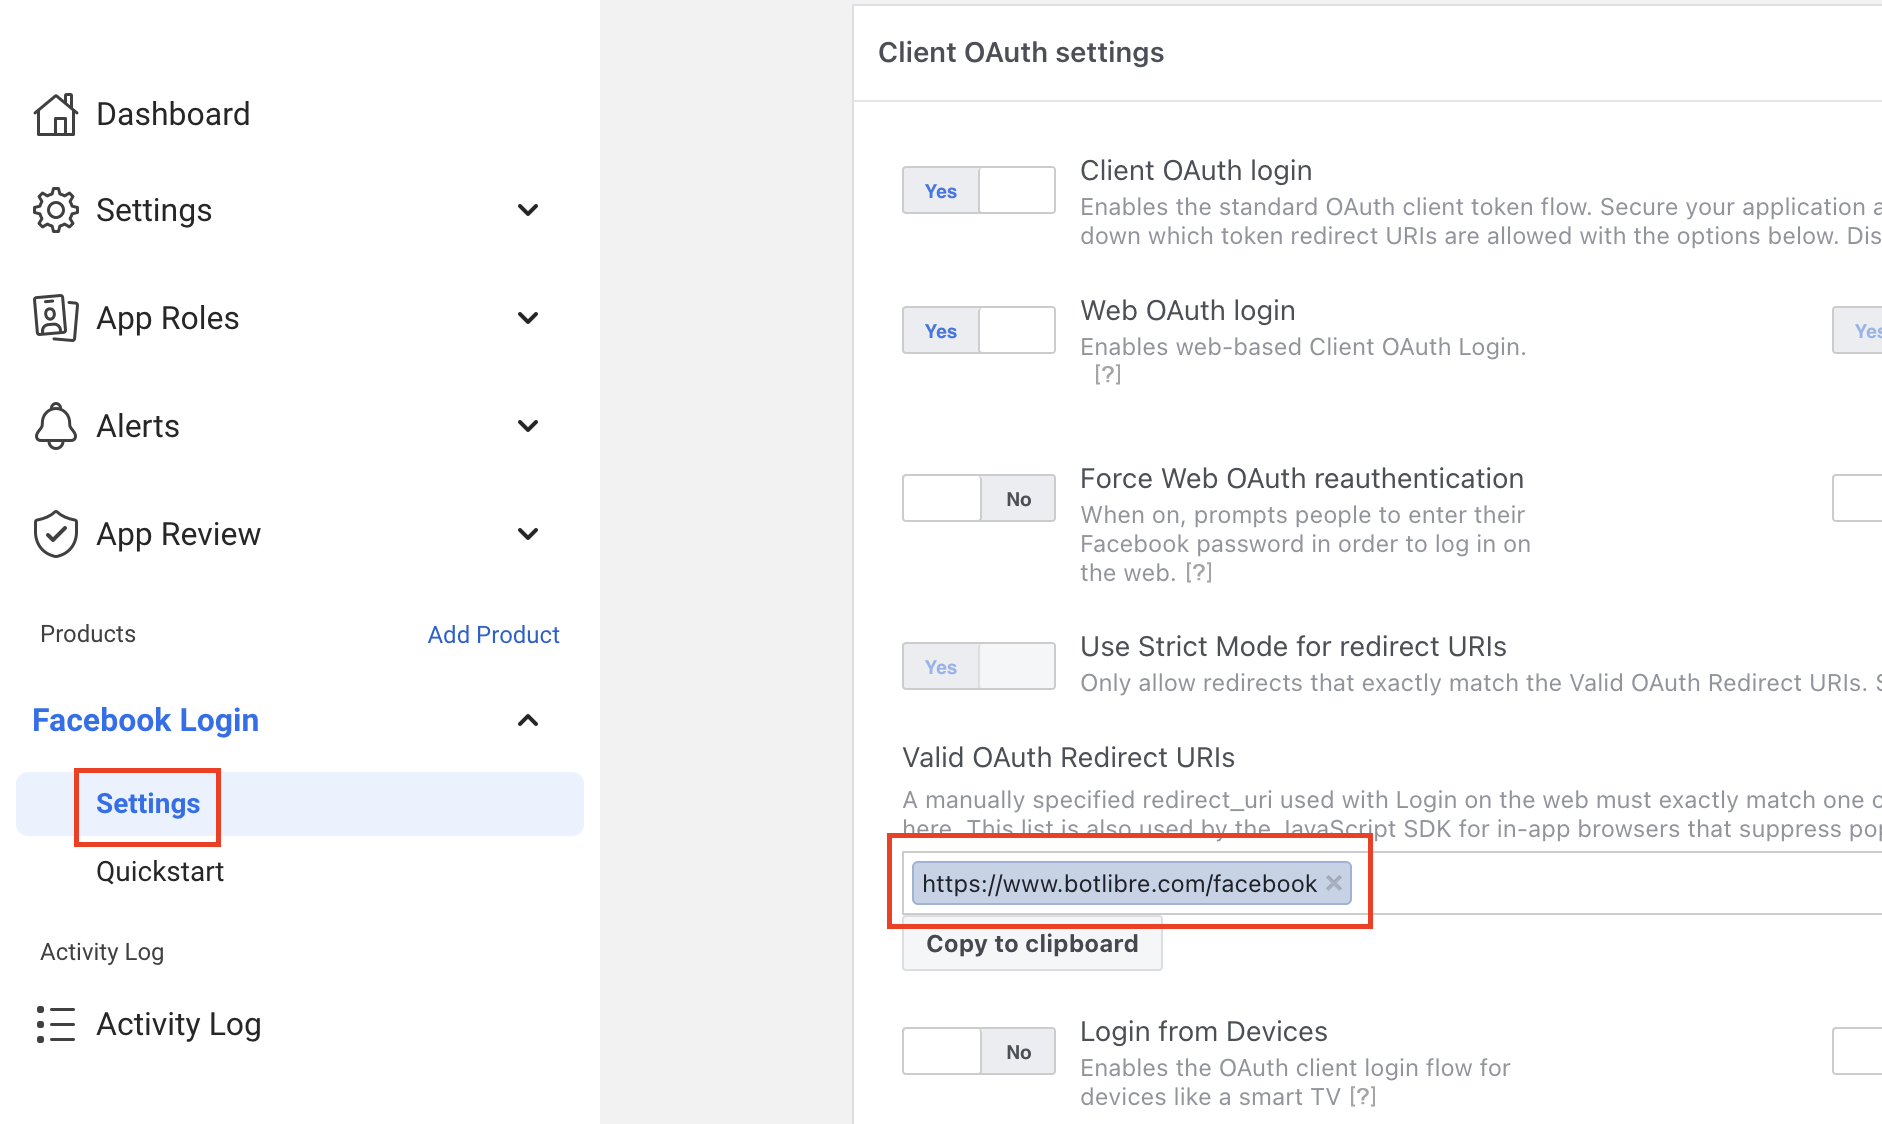
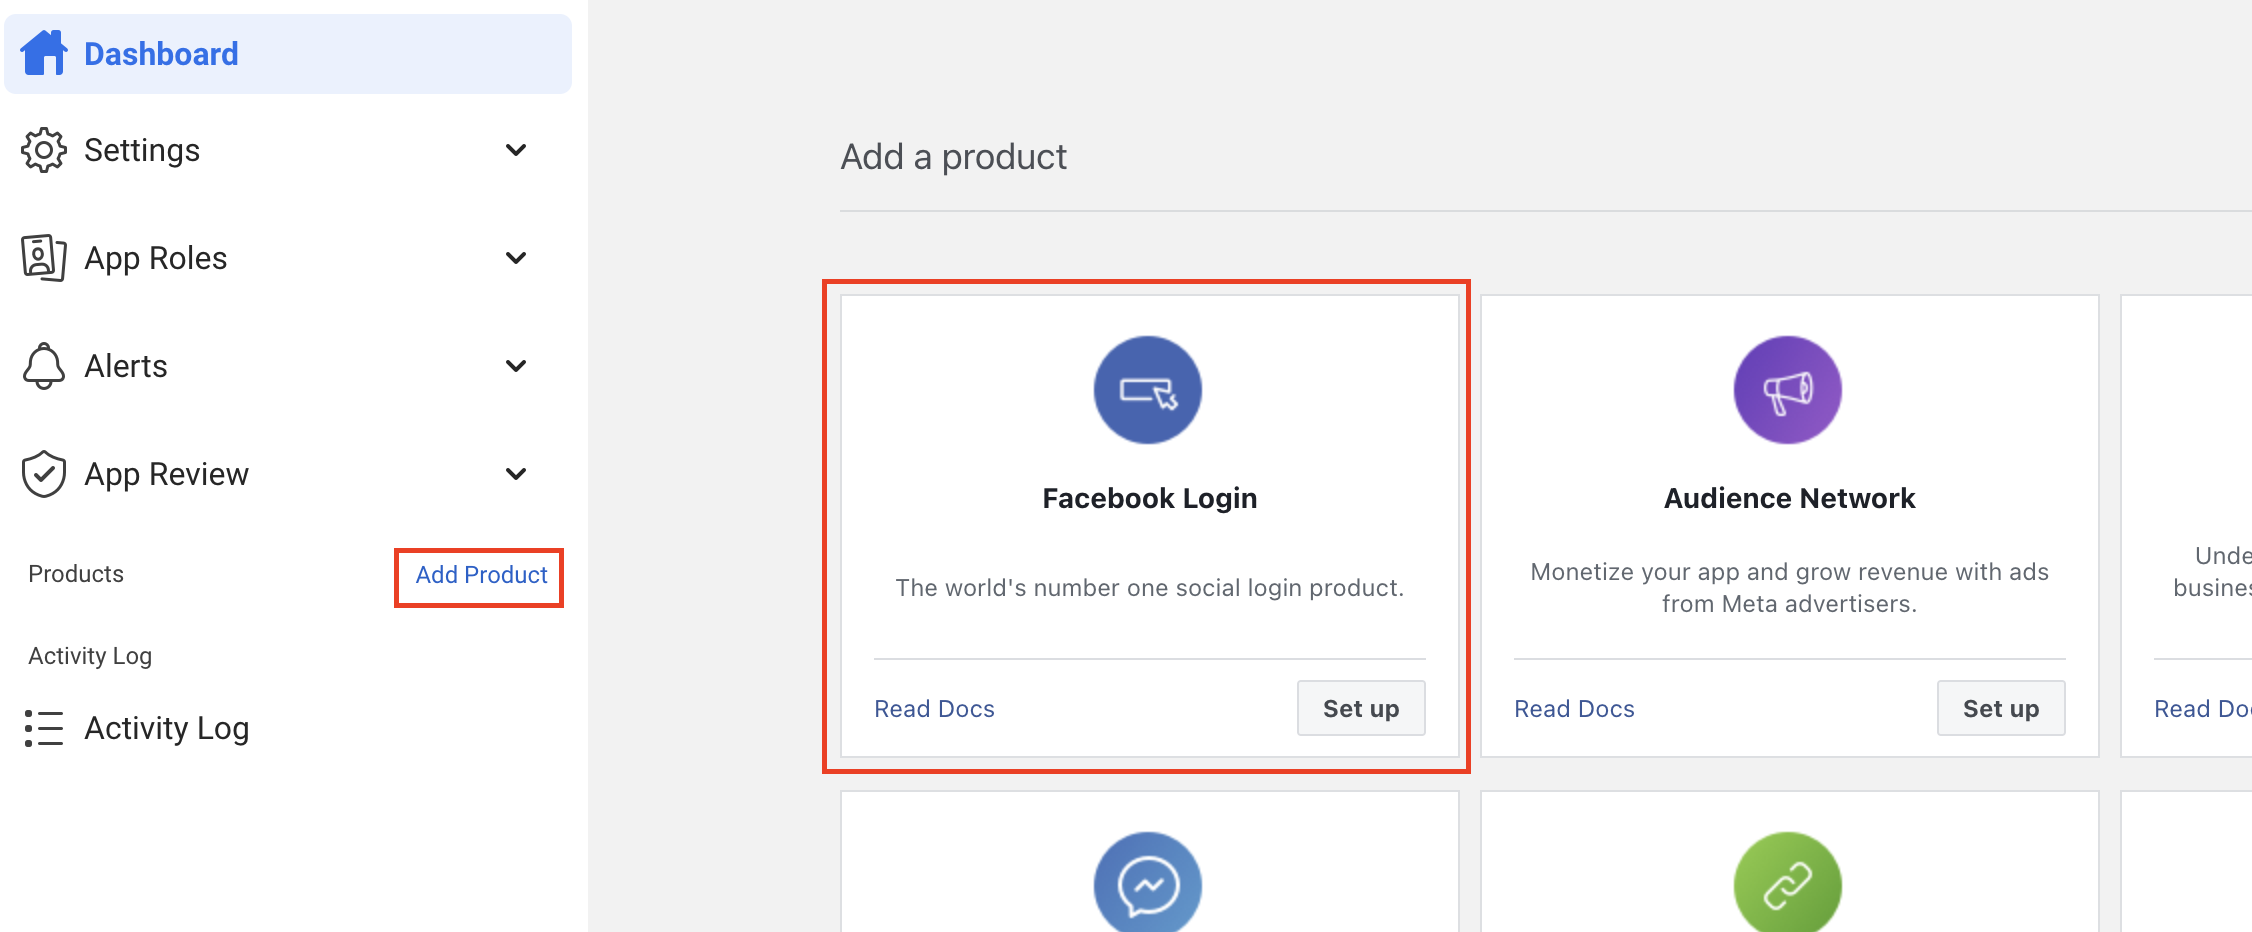 Skip the Quickstart, just click the "setting" under 'Facebook Login" on the left pane.
Enter "https://www.botlibre.com/facebook" into the 'Valid OAuth Redirect URIs' field then click the "Save Changes" button.
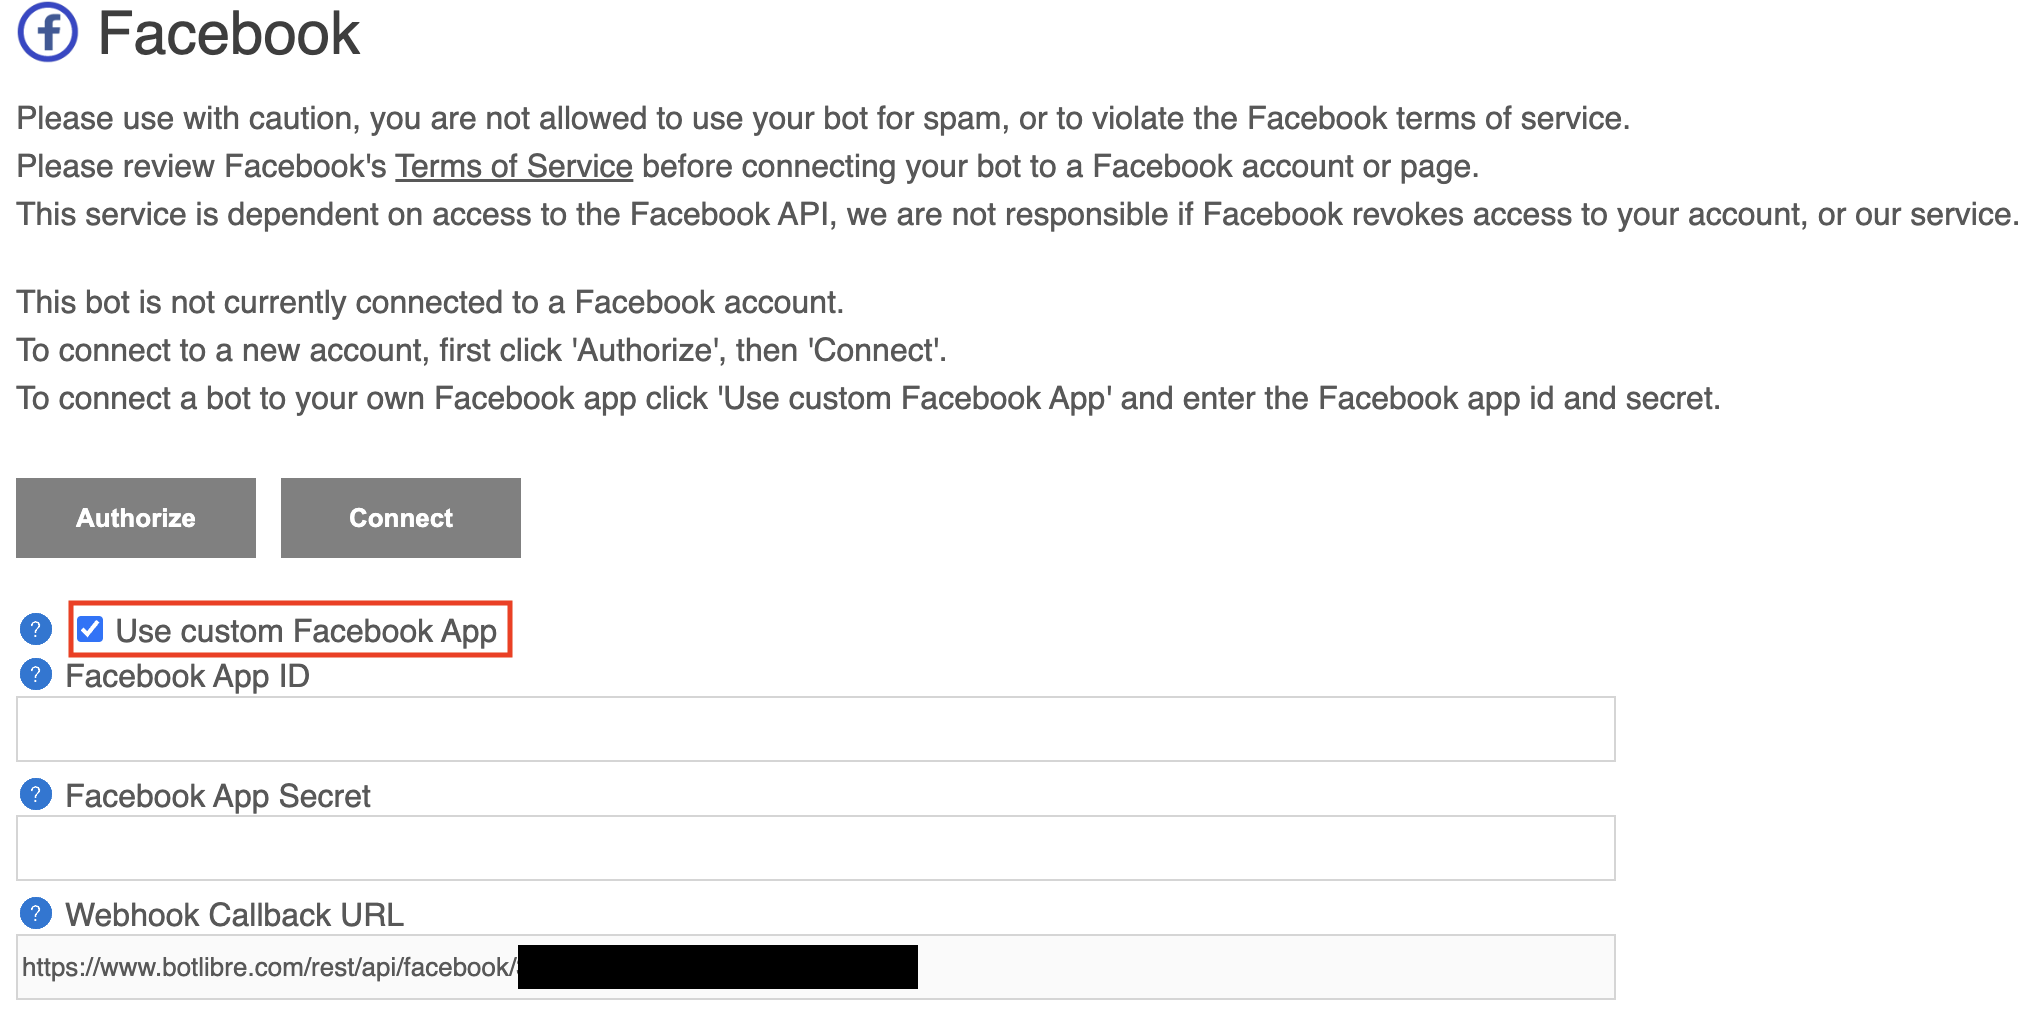
 Now you can go back to bot's facebook setting page and select "Use custom Facebook App" checkbox.
Enter the "App ID" and "App secret".
 Now you are good to go. You can go back to the first step and finish the connection.
|
|
|
|
|
|
|